Should I Clean My Solar Panels?

It’s coming to the time of year that we get reduced cloud cover and a lot more sunshine. This will mean that our solar panels will start to generate more power again, which is helpful. It’s been quite a while since I last cleaned them, so last weekend I picked up a soft bristle brush to have a go at cleaning them.

The last few times that I have cleaned the panels I have just hosed them off, letting the water pressure from the hose do the work of cleaning the solar panels. However this year I’ll be giving them a scrub to really clean them up.

I was curious about what kind of performance increase I would get from cleaning them, and after watching the below video, I reckon it’ll be pretty significant. Paul on the video managed to get a performance increase of about 30 – 40%!

Cleaning the solar panels should help a lot, especially with the ridiculous high cost of electricity here in South Australia…
Choosing a Drywall / Pasterboard Anchor

The majority  of our internal walls are plasterboard on timber studs with 60cm or 24″ centres. As such we have had to use a lot of anchors when we put anything on our walls. This includes putting up:

  • Photos
  • Clocks
  • Shelves
  • Prints
  • Artwork
  • Coatrack
  • etc.

Having the timber framing 60cm, or 24″, apart adds to the weakness of the walls. Our home in Canada had 16″ centres, which seemed to make a significant difference in strength. I’m also not too sure how thick the plasterboard / drywall is, but I reckon it’s pretty thin, as it is far weaker than the walls we had back in Canada.

This video by Project Farm does a very good breakdown of different kind of wall anchors that can be used in our plasterboard. Many I have tried myself, but this is a great test:

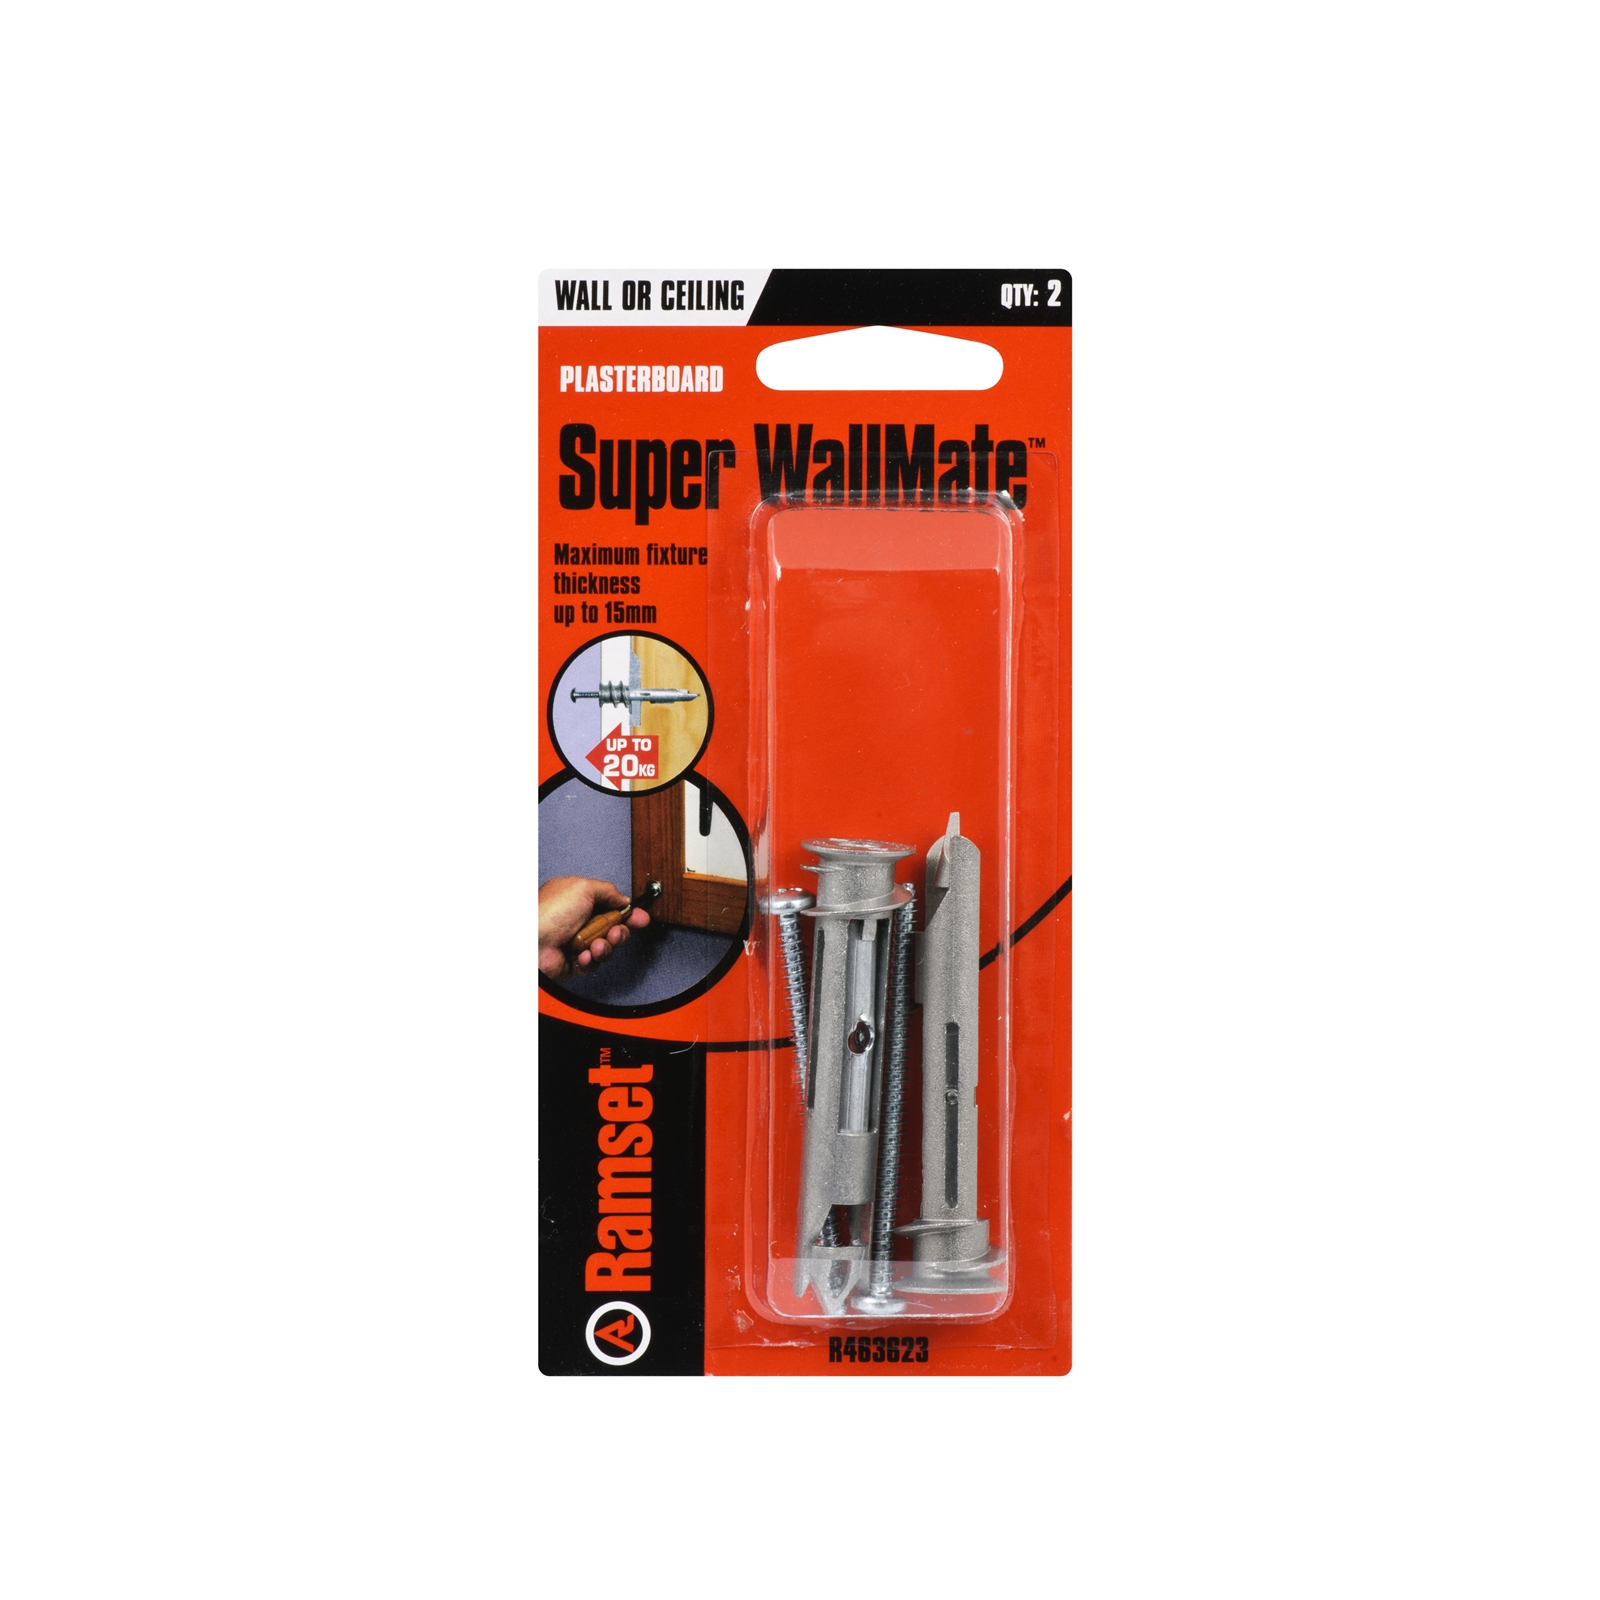
The winner according to this video is the E-Z Ancor Drywall Toggle Anchor, which of course is not available here in Australia. The best that I can find that is close is the Ramset Super Wallmate, which is available at Bunnings for about $2.00 each.

Ramset Super WallMate 8 x 64mm Zinc Alloy Toggle With Screw

While I have not tried that specific anchor myself, next time I need to purchase some anchors to put a large item on our plasterboard wall I reckon I’ll give the Ramset Super Wallmate a try.

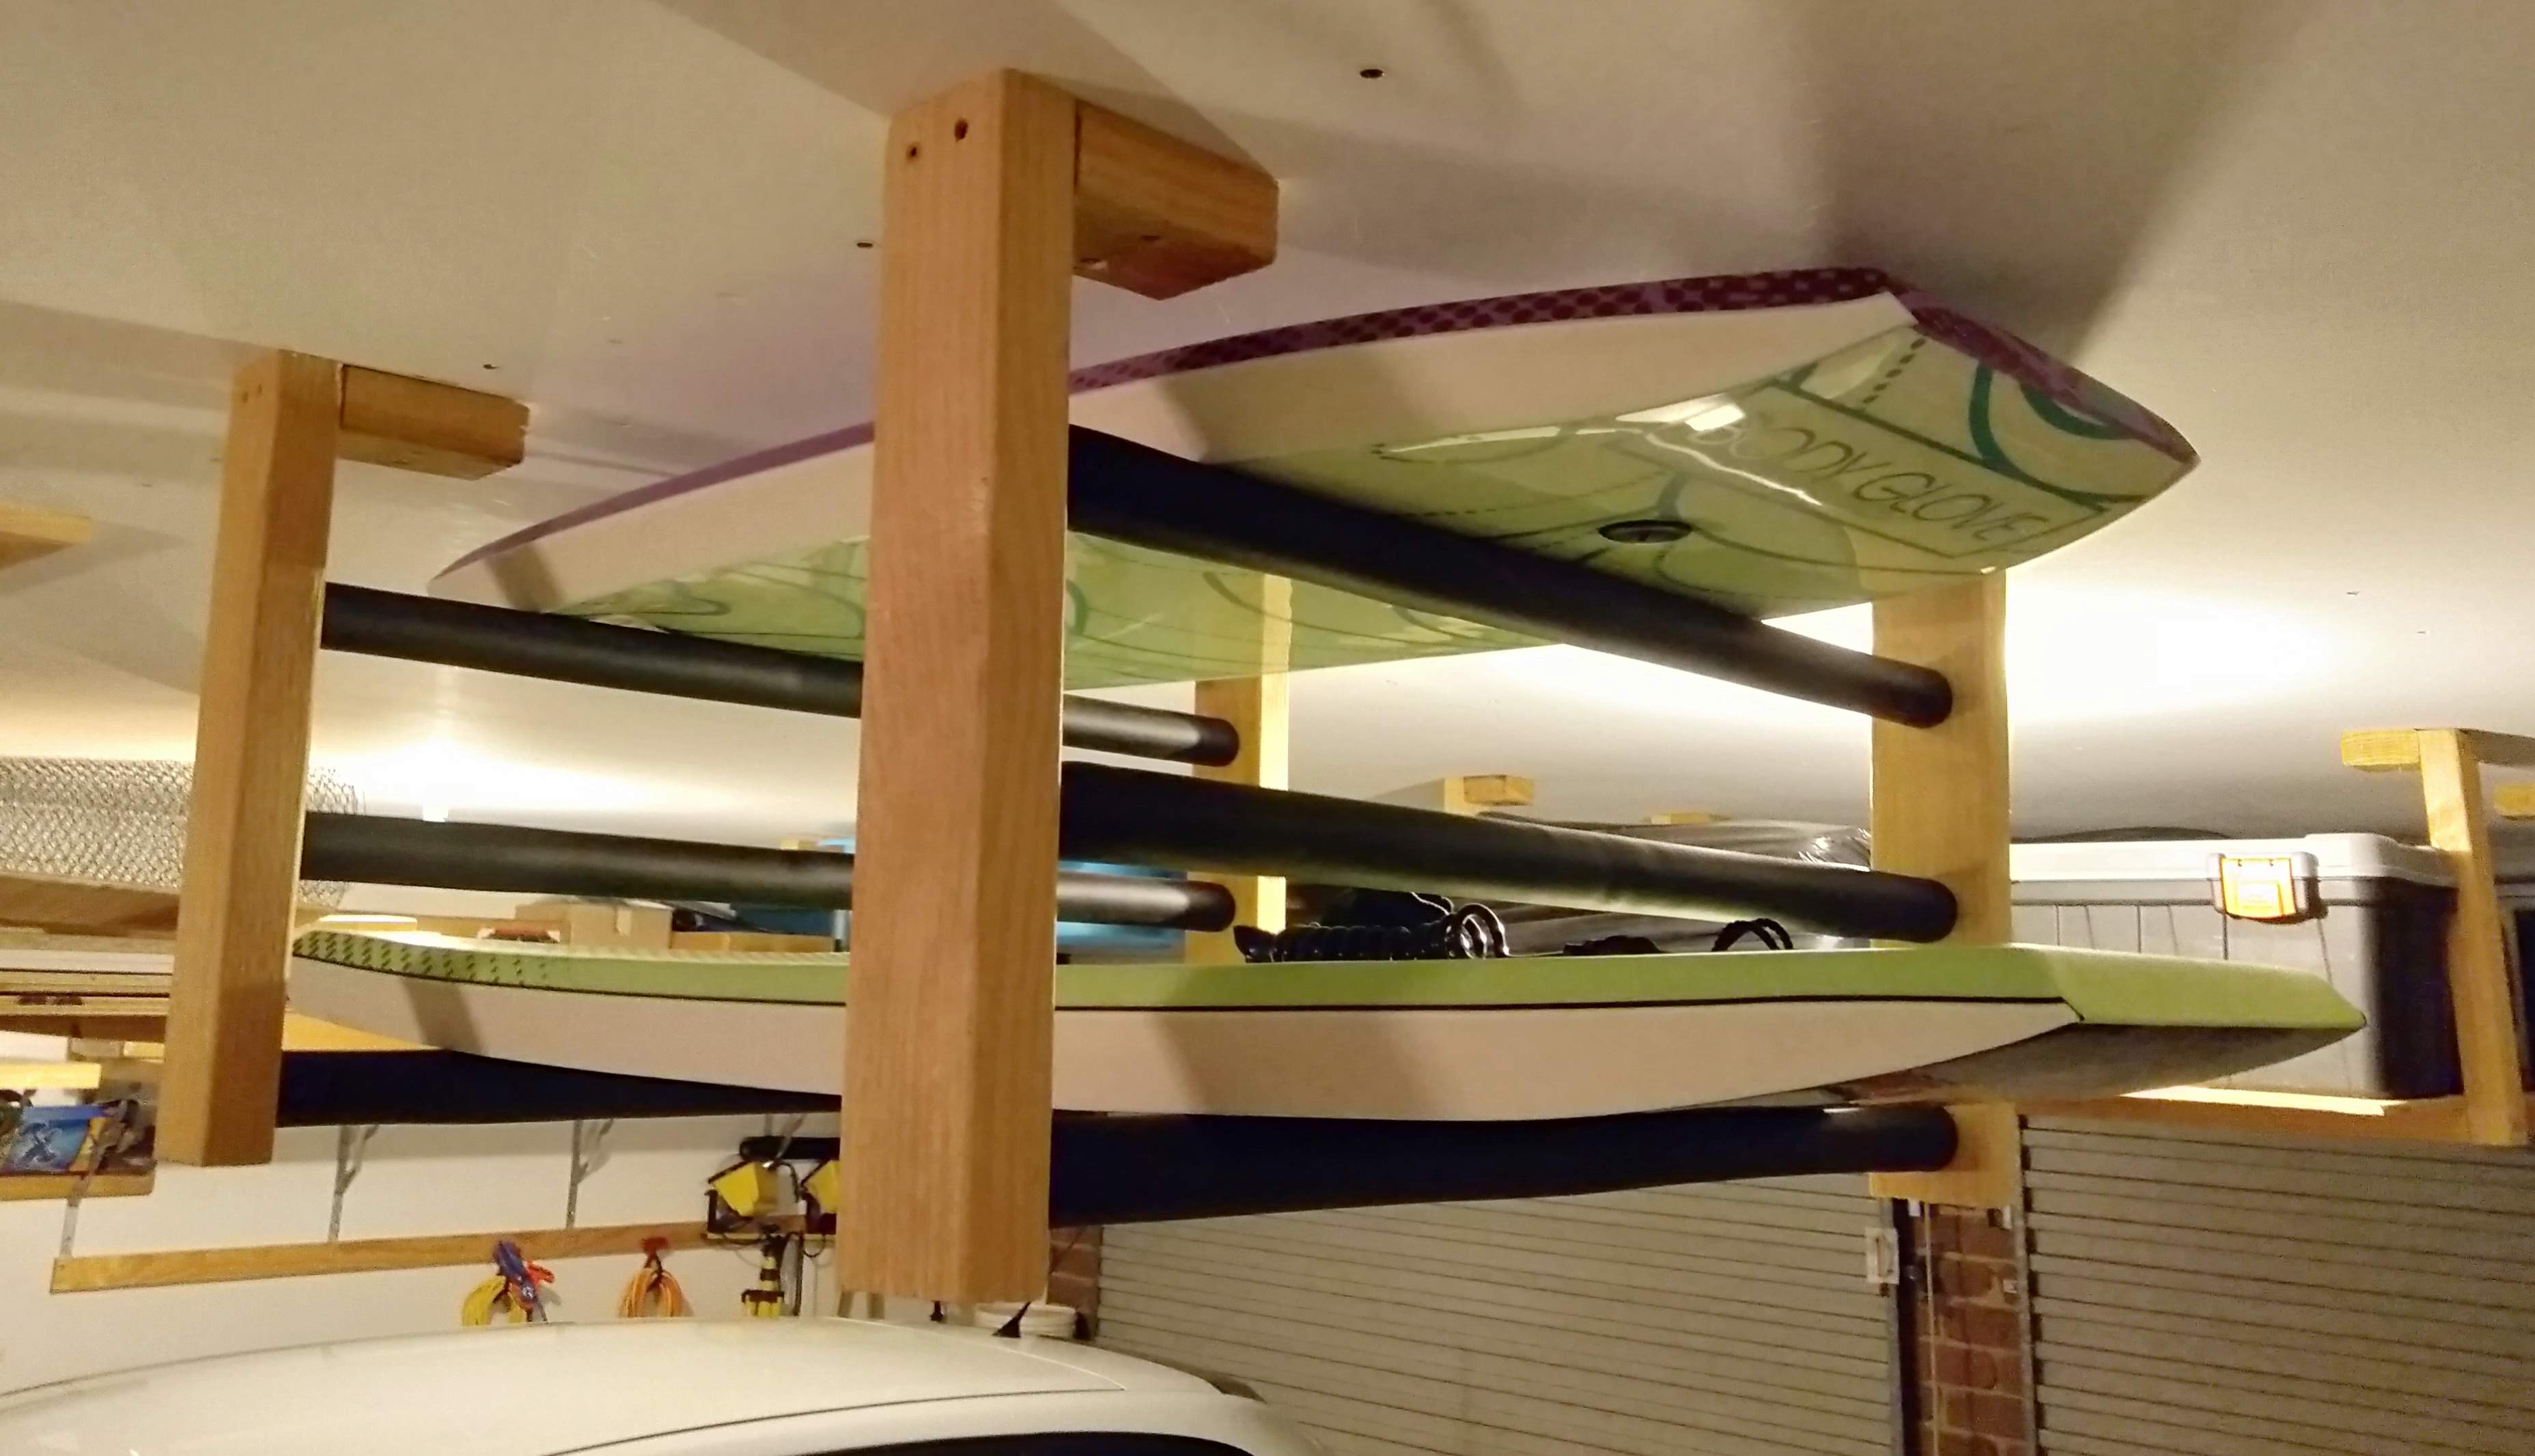
DIY Ceiling Mounted Bodyboard and Surfboard Storage Rack

We decided to take advantage of the end of summer sales on bodyboards for our kids and picked up a few body boards for them. There are a few care tips that came with them to ensure they last a long time. They included:

  • Store them flat
  • Don’t stack them on top of each other
  • Allow airflow to make sure they dry fully
  • Rinse with fresh water after every use
  • Don’t leave them in the sun

Seeing as how leaving the boards sitting on the floor seemed like a bad idea I had to figure out a way to safely store the boards out of the way in our rather full garage. The most logical place for this was on the ceiling.

There are a few sites that show different options for bodyboard or surf board storage, so I tried to combine a few popular options to come up with our set-up.

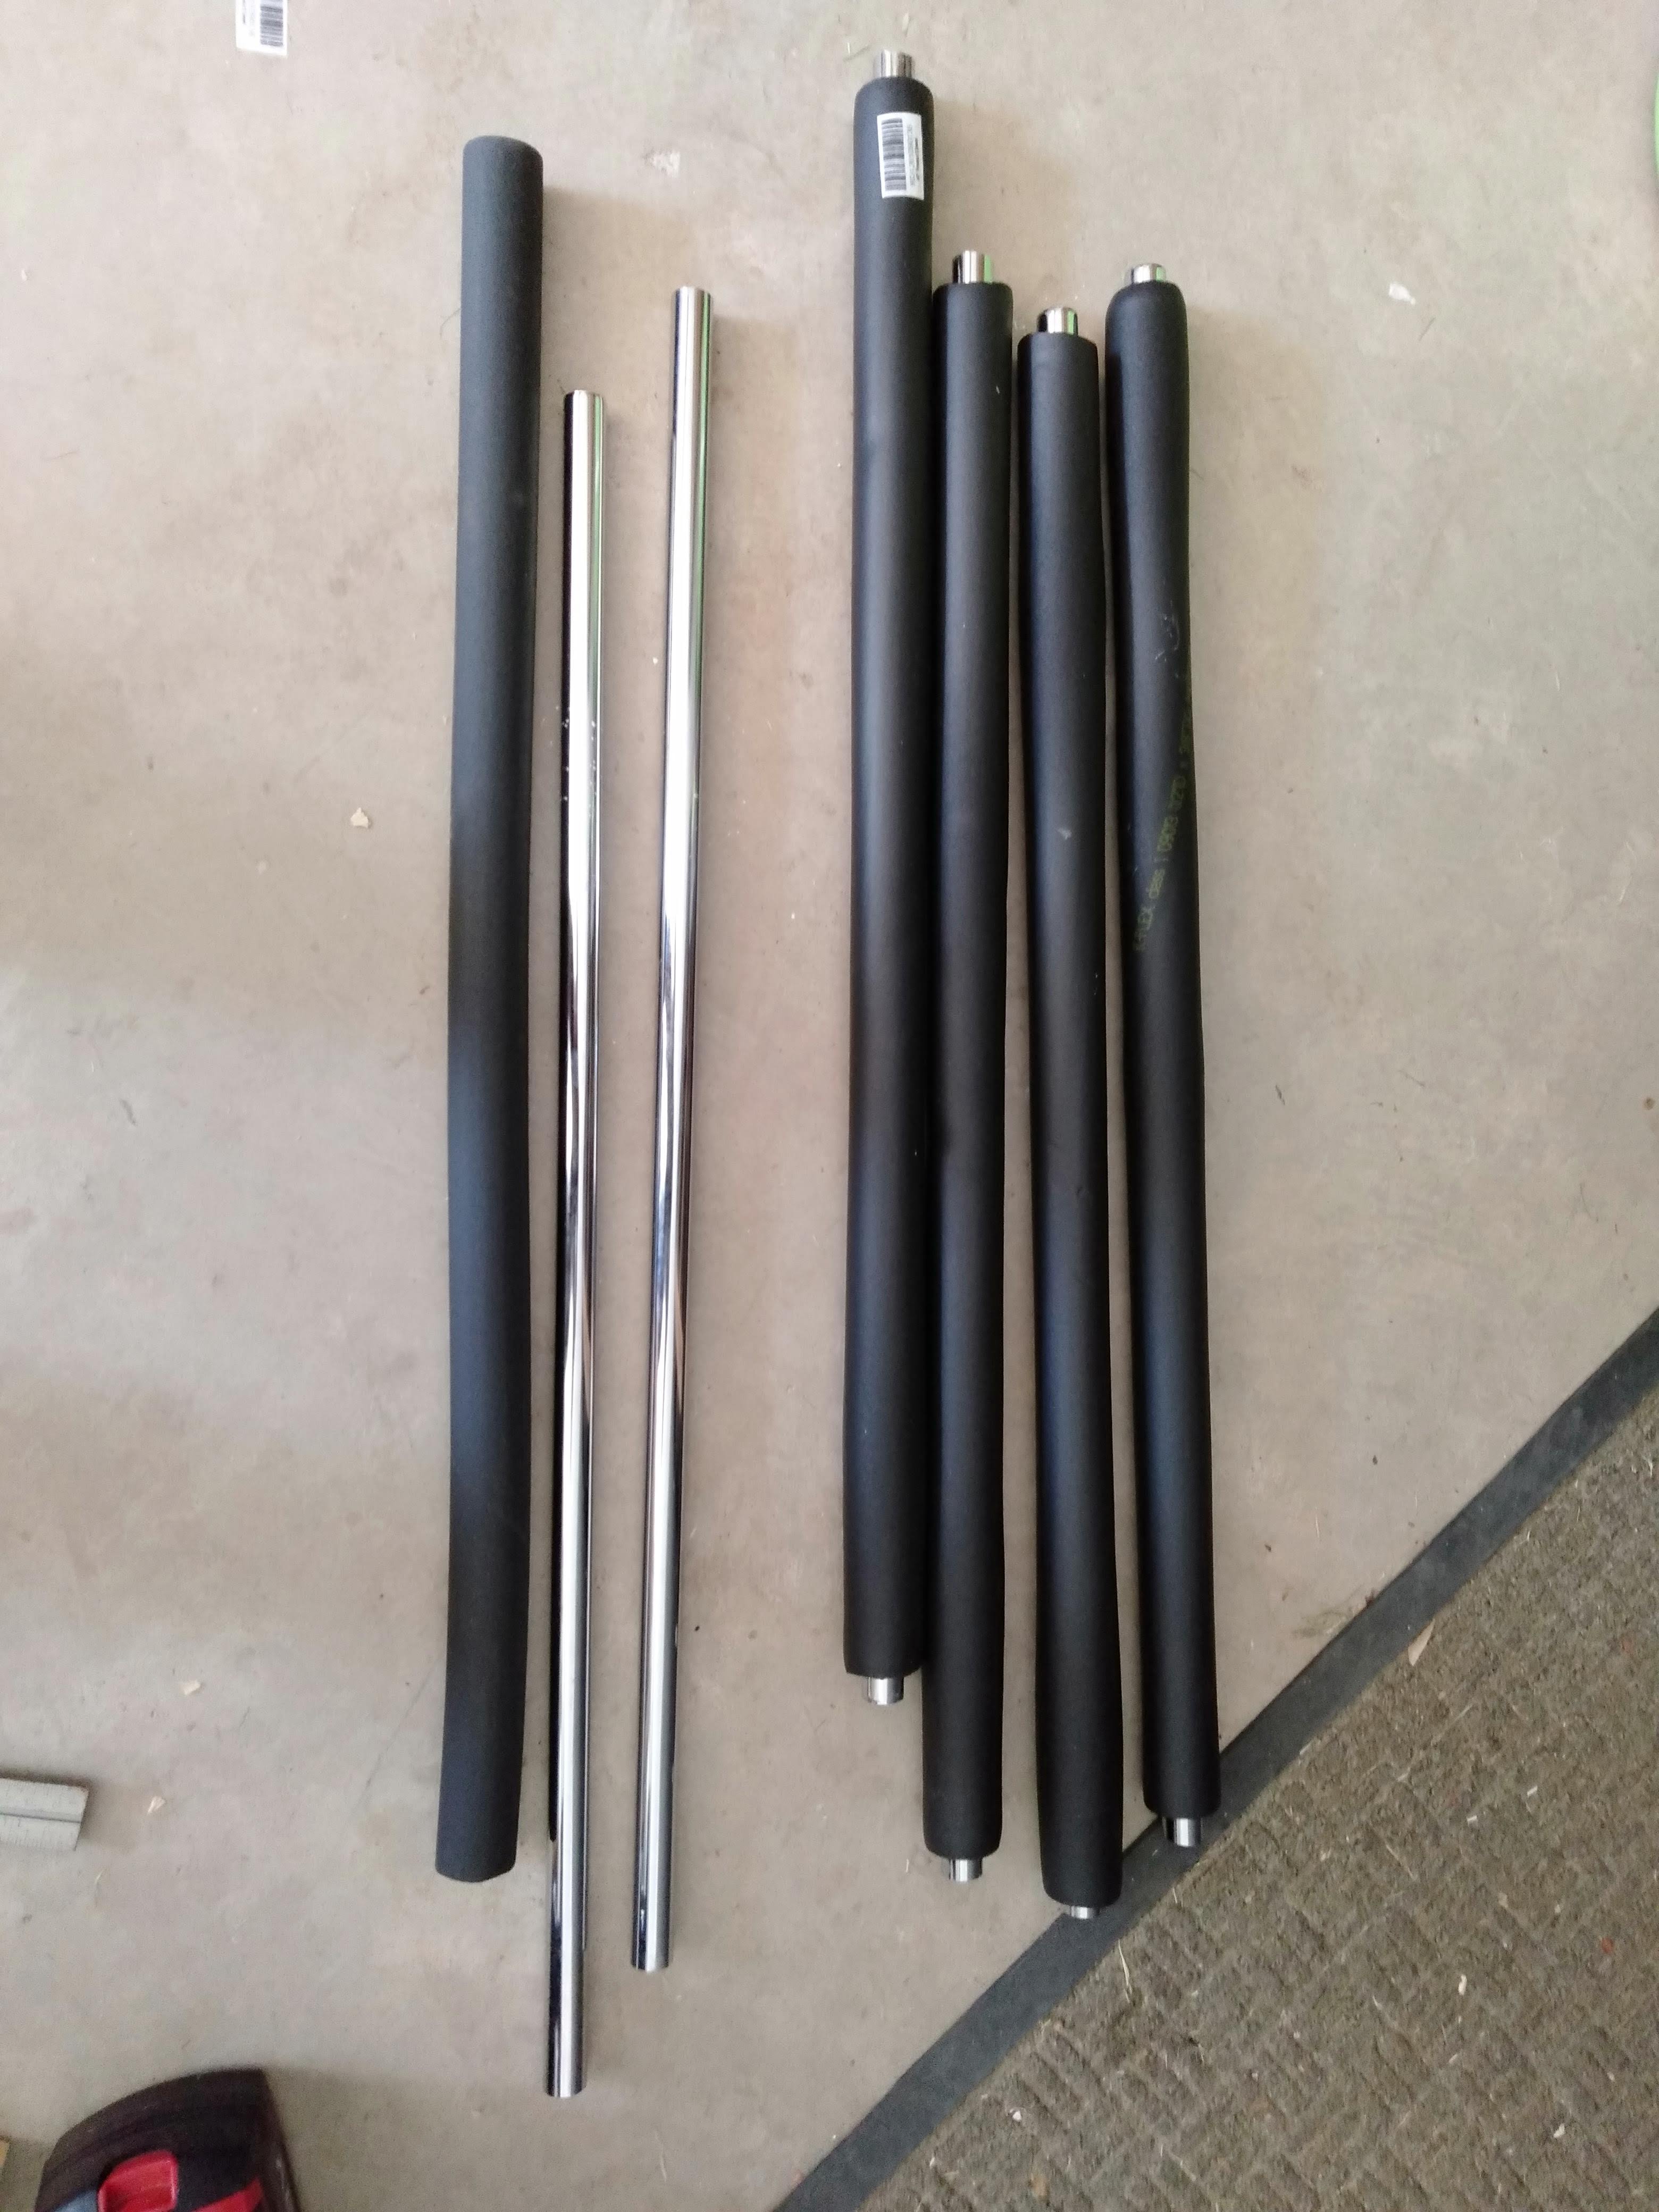
To start with I got together the needed materials …

  • 2 x 4 timber
  • 2 x 2.4m shower curtain rods
  • 6 x 1m plumbing pipe insulation
  • 3″ (76mm) Timber screws

I started by cutting the curtain rods into 6 x 70cm long bars and cutting down the insulation to about 68cm. Slide the pipe insulation over the cut shower curtain rods.

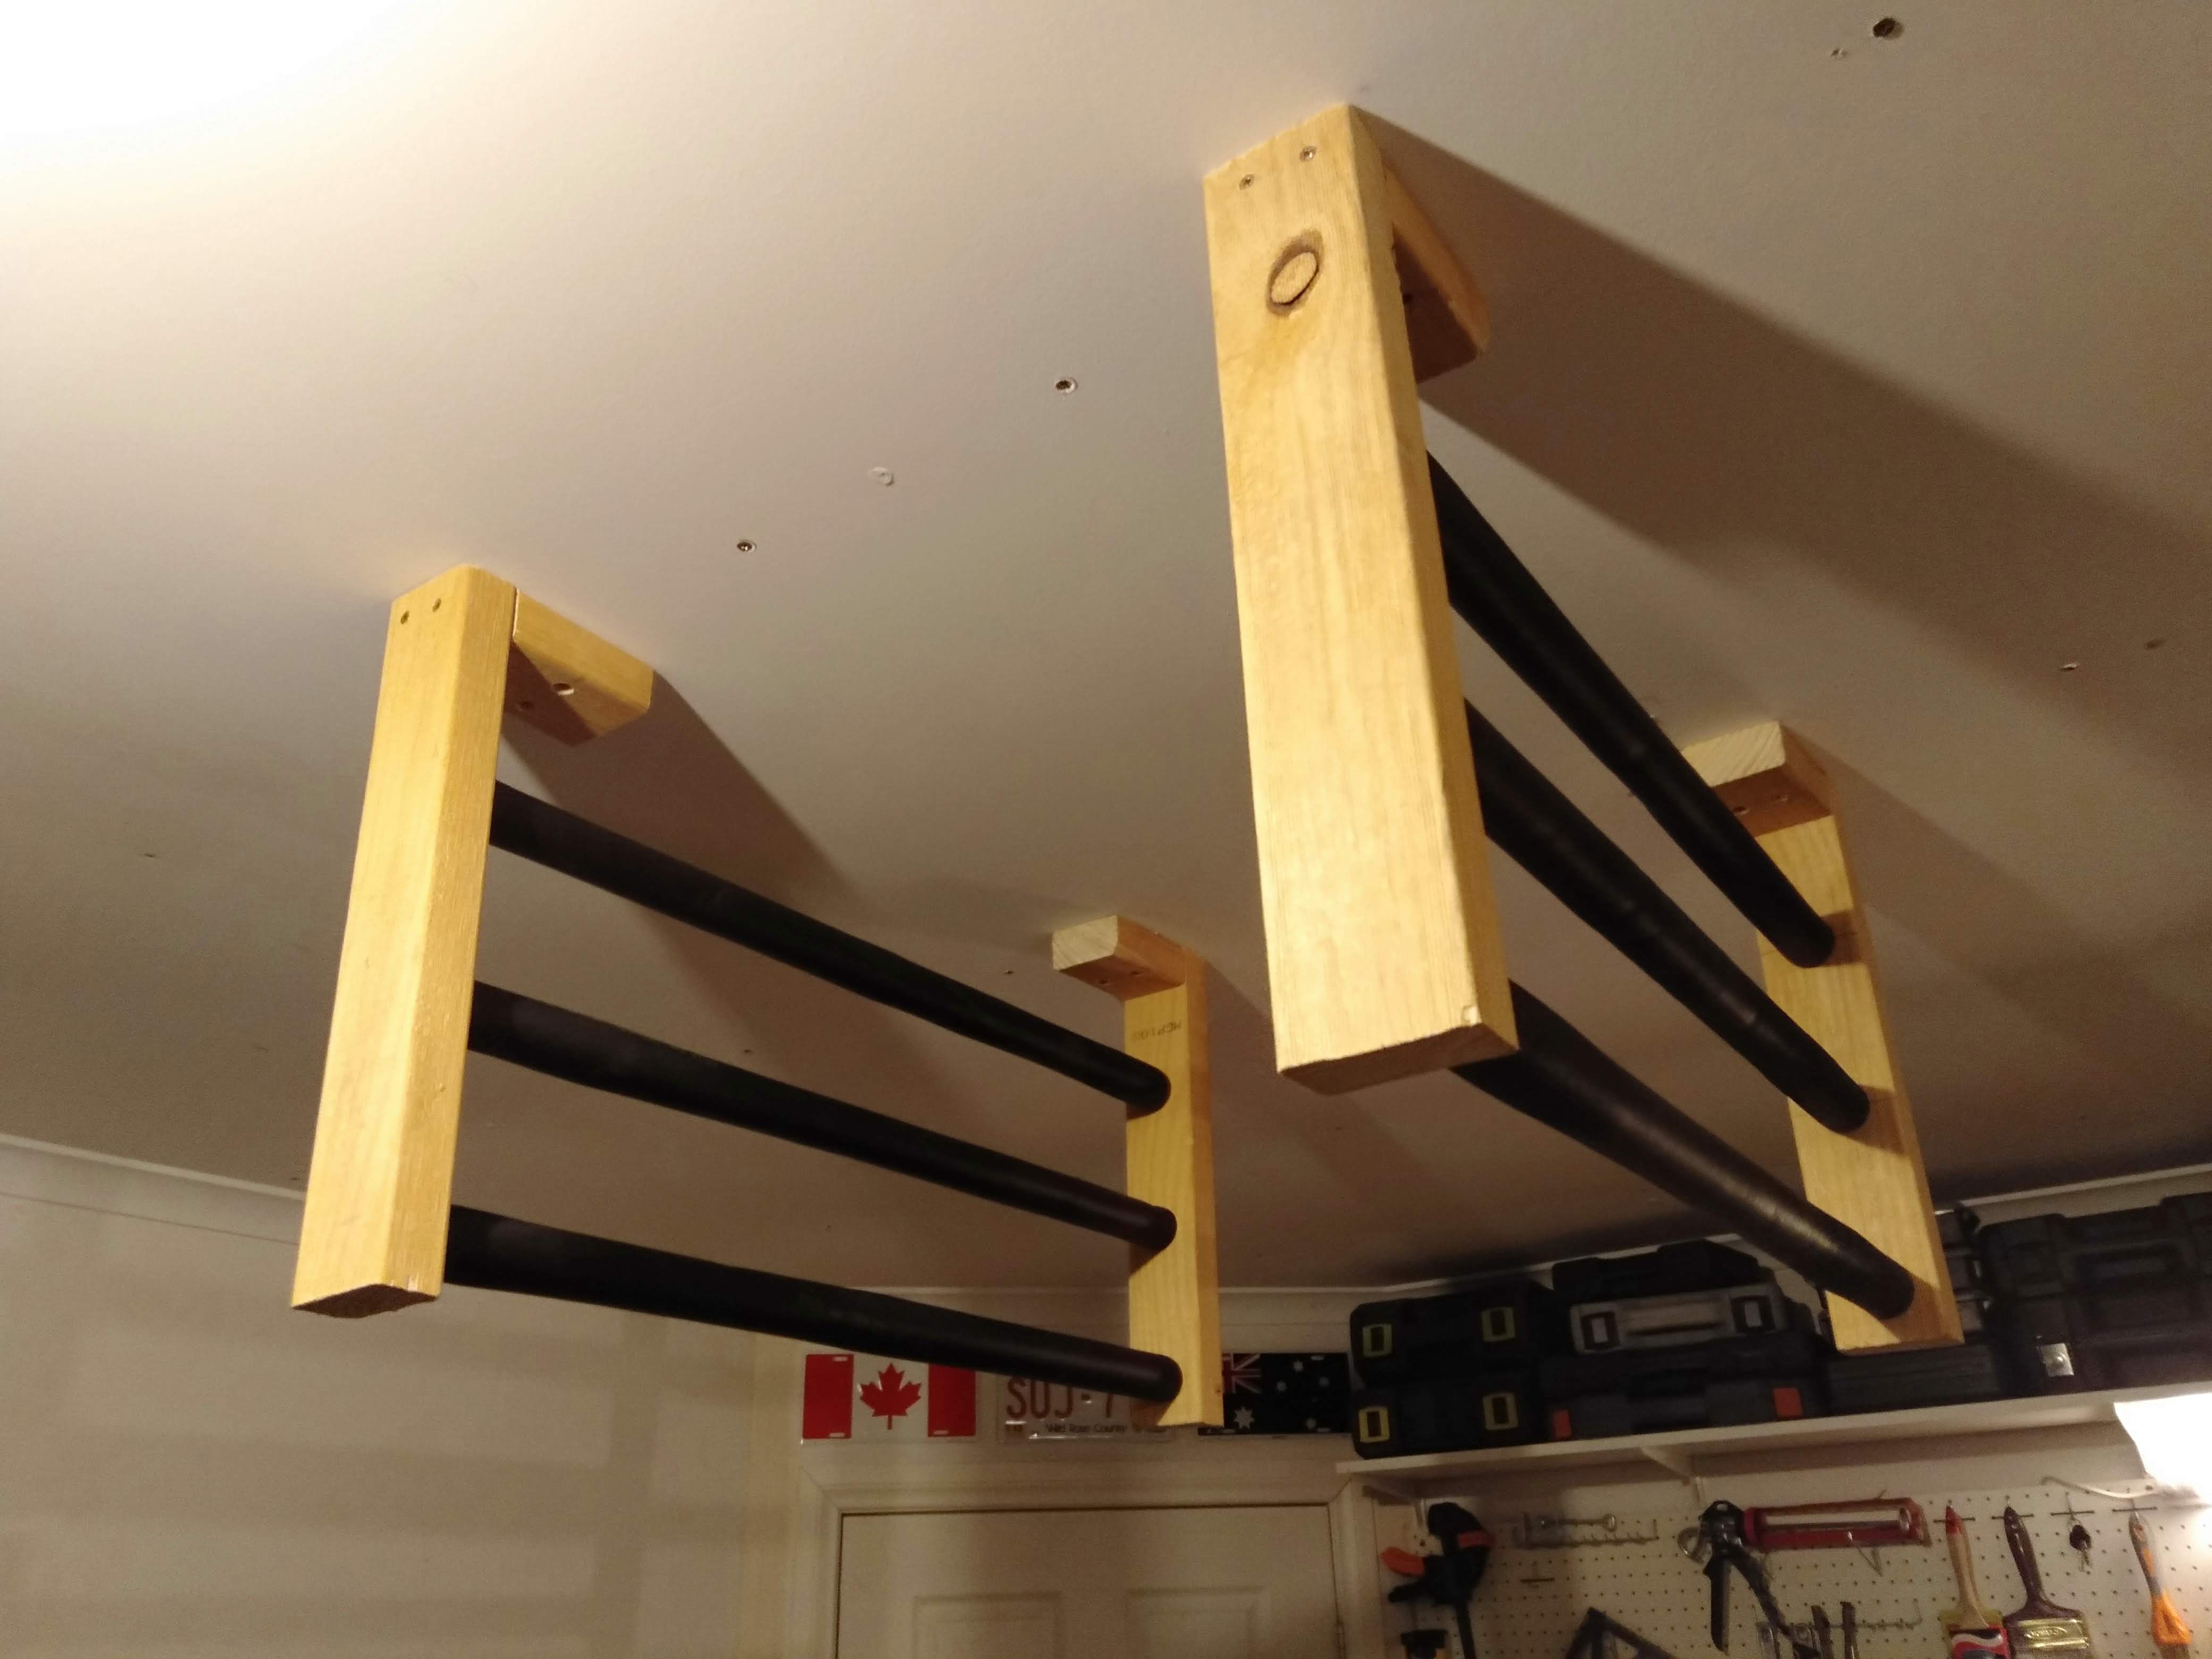
To comfortably fit three body boards in the rack I decided to hang the lowest board 60cm below the ceiling. This allowed enough room for clear airflow around the boards, and for their to be no pressure on any of the body boards.

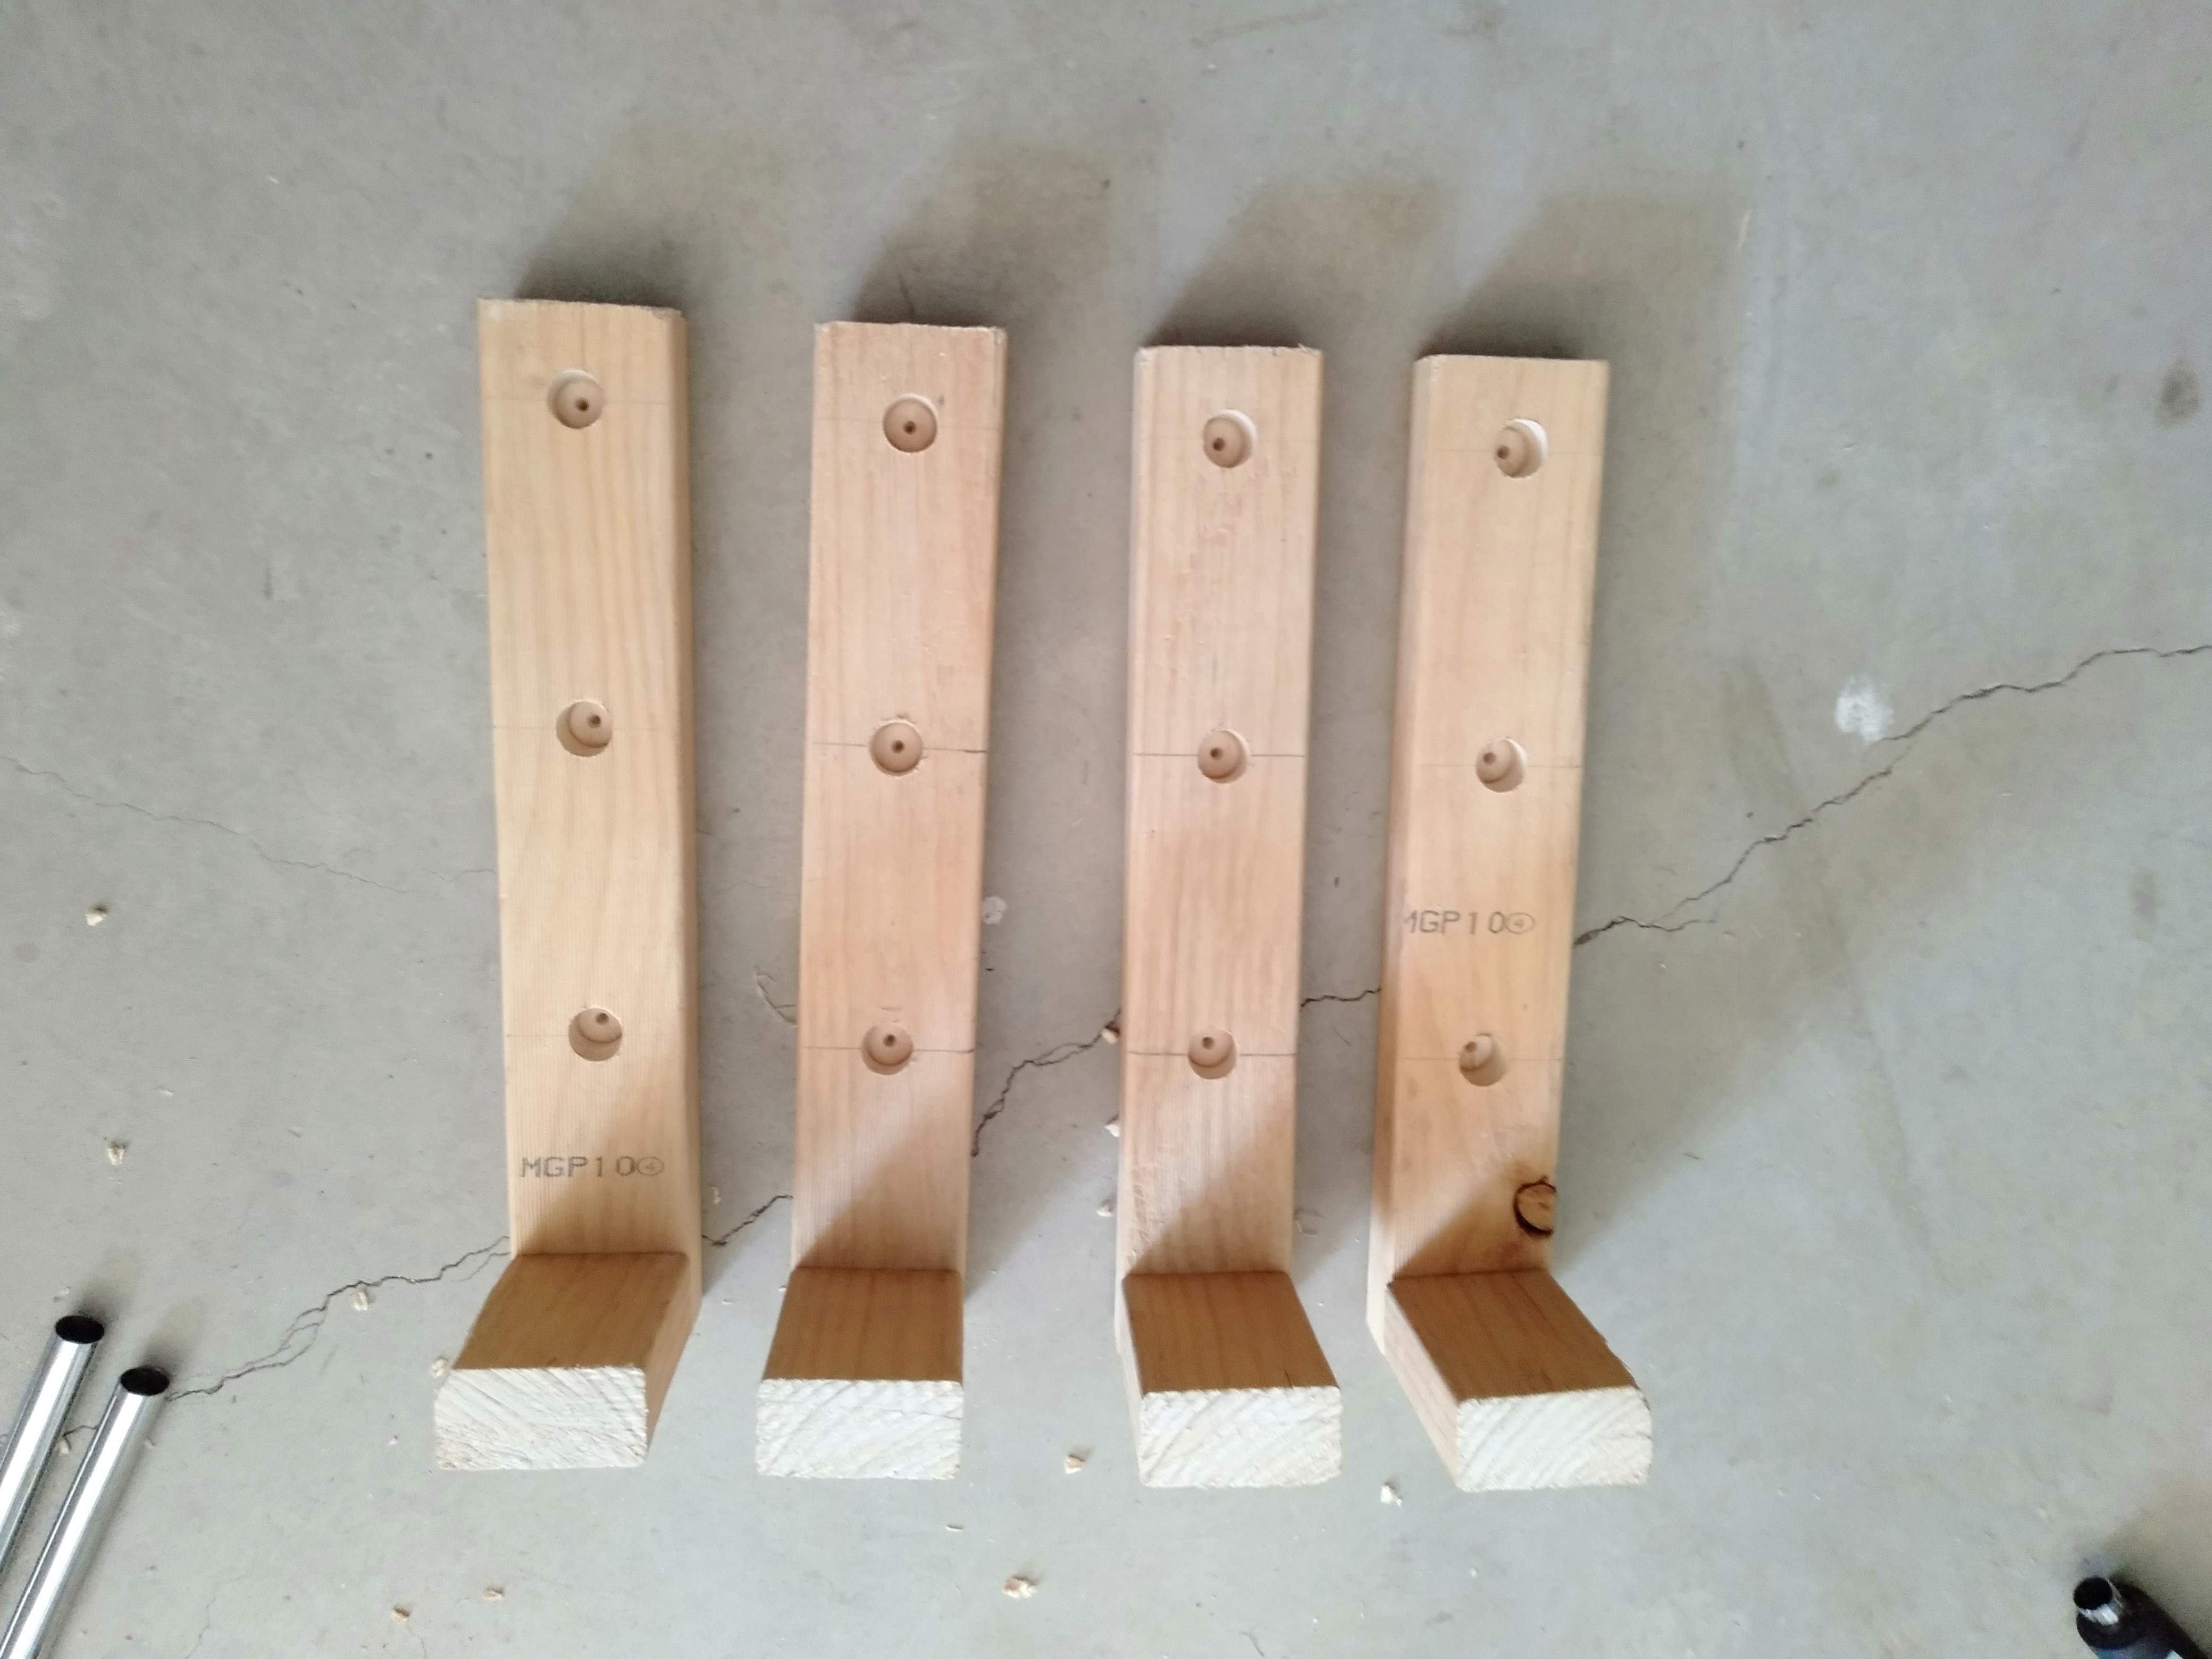
I created four hanging frames that I would insert the padded rods in. Since I was putting six rods in I drilled about half way through the 2 x 4 timber frames so that they rods could rotate when the boards were up on the padded rods. The rods I used were 19mm in diameter, so I drilled the holes at 20mm.

To support the weight of the boards you want to make sure that the frames are screwed into the ceiling joists. Screwing them into the ceiling panels will not be strong enough, so I would recommend using a stud finder to make sure to put the frames into the joists.

Check the length of the boards to make sure that the distance between your frames is close enough that your boards all fit, and I would suggest as far apart as you safely can so that you provide maximum support for the boards.

Hopefully you find this tutorial helpful …

Mortar Trouble

Argh, just what we needed right now, crumbling mortar!

Along the back wall of our house, which is the wall that experiences the most weather and rain, we have found an increasing amount of holes in the mortar between the bricks. The holes start small and slowly increase over time as the weather and rain hit it.

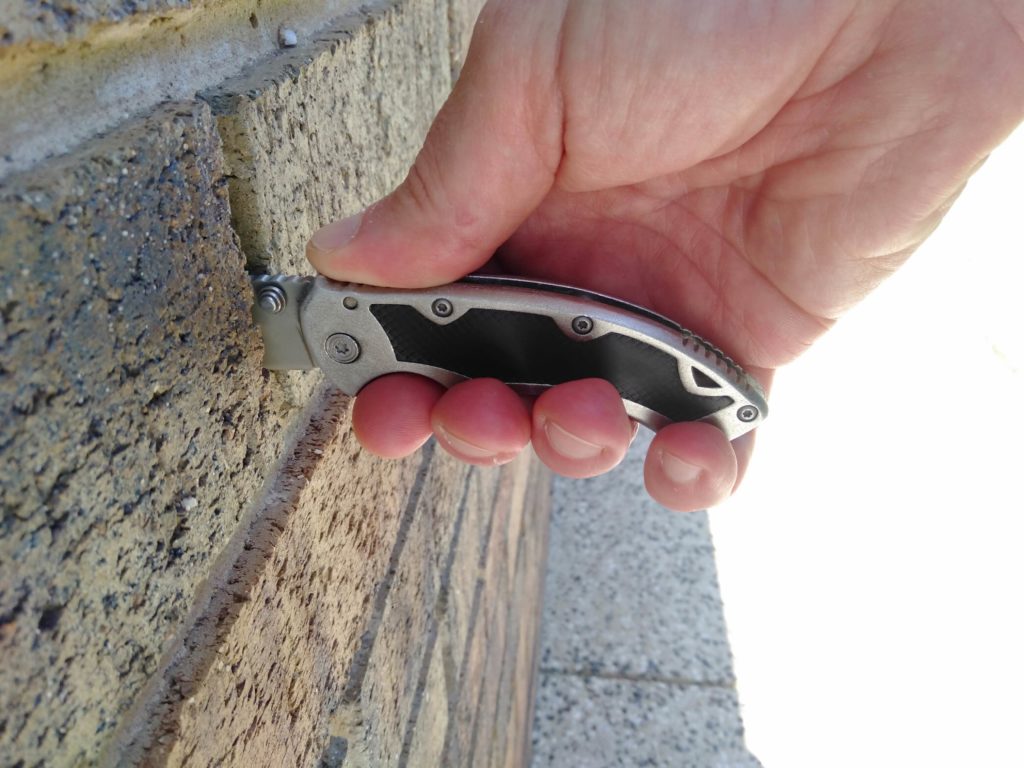
At some points I can very easily stick a knife straight through the mortar, and I have even done the same thing with a plastic pen at some of the mortar joints between bricks!

We had a brickie come out last week to look at it for us and what he reckons has happened is that when the wall was originally built, many of the cracks between bricks was just given what amounts to a surface scrape of old mortar. This can happen if the mortar stuck down between the bricks isn’t enough, or gets washed out. After the mortar has dried the gaps are seen, so the brick layers tries to squeeze in mortar between the bricks. This mortar is often old and left over stuff, so it doesn’t adhere well, and doesn’t dry very solid.

This problem with soft, crumbling mortar seems to be what we are experiencing now!

Over the next few weeks the brickie will be coming around and needing to cut and scrape out the old mortar. Then he will need to mix up some new mortar, try to match it to the colour of the existing mortar, and attempt to fill the gaps between the bricks.

Getting the gaps between the bricks repointed should be sufficient to stop any further dissolving of the existing mortal, and hopefully we can then look at fixing up the problems that the holes have caused inside the house …