Should I Get My Air Conditioning Ducts Cleaned?

In Canada we had our heating ducts cleaned once every two years when we had our furnace and humidifier serviced. Now that we are looking to purchase a house in Australia that has central air conditioning we are having to consider if we should be cleaning these ducts as well …
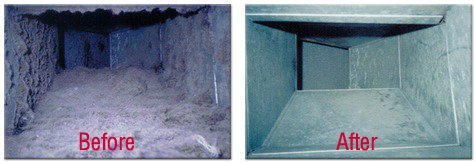
The duct work in Canada was smooth, solid duct work like in the photo above. The duct work that is connected to the central air conditioner here in Australia however is not smooth or solid, it is flexible and corrugated.

Of course the companies doing duct cleaning will recommend that you get them cleaned at regular and reoccurring intervals, but even the American Environmental Protection Agency (EPA) states that there is no scientific proof that getting your ducts cleaned actually helps with air quality. Although there is anecdotal evidence (example) that cleaning the ducts increases air quality, the EPA states that:

Duct cleaning has never been shown to actually prevent health problems. Neither do studies conclusively demonstrate that particle (e.g., dust) levels in homes increase because of dirty air ducts or go down after cleaning.

Reasons to get your ducts cleaned

The EPA does state that there are a few reasons that you should consider getting your ducts cleaned. They are:

  • There is substantial visible mould growth inside hard surface (e.g., sheet metal) ducts or on other components of your heating and cooling system.
  • Ducts are infested with vermin, e.g. (rodents or insects).
  • Ducts are clogged with excessive amounts of dust and debris and/or particles are actually released into the home from your supply registers.

If there is not those factors then cleaning your ducts provides no benefit.

What is more important in the maintenance of your air conditioning unit is to:

  • Check and change or clean the filters regularly
  • Make sure that the system is well maintained
  • Have regular inspections
  • Ensure that moisture is not entering the system

How much does duct cleaning cost in Australia?

I just actually called a company here in Adelaide to find out how much it would cost to get the air ducts cleaned in the house we are buying. To say I was shocked at the cost would be an under statement!

To clean the ducts, vents and return would cost $1087!

No wonder the air duct cleaning companies will tell you that regular cleaning is needed …
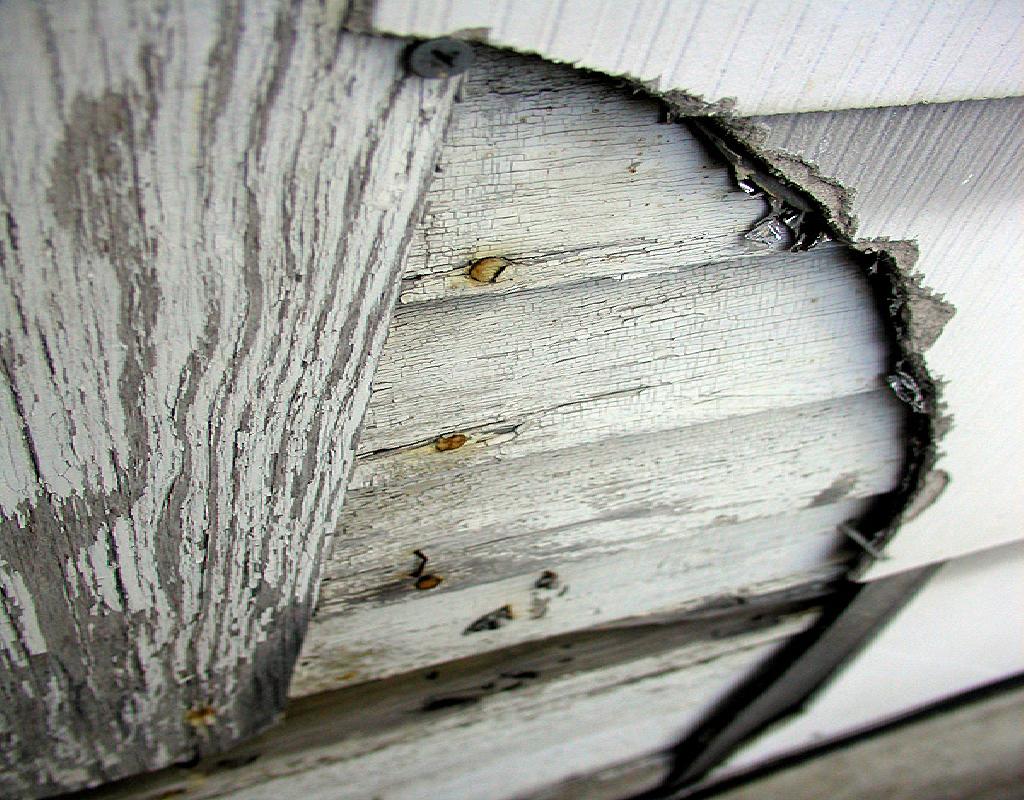
Does My House Have Asbestos?

Given the prevalence of asbestos being used in construction during the 20th century anyone who has a house built in that era should be asking themselves if their house has any asbestos in it. Asbestos was used in many different applications in construction including:

  • Fire retardant coatings
  • Bricks
  • Pipes
  • Cement
  • Gaskets
  • Pipe insulation
  • Ceiling insulation
  • Fireproof drywall / plaster board
  • Flooring (tiles, linoleum, etc.)
  • Roofing tiles
  • Roofing felt
  • Insulations around wires
  • Lawn furniture
  • Drywall joint compound
  • Fireproof doors
  • Caulking
  • Popcorn and acoustic ceilings
  • Exterior siding

In Canada one of the main uses that I was warned about was in ceiling insulation. Some types of blow in insulation that was used included small percentage of asbestos. This type of blow in insulation was called vermiculite, specifically Zonolite.

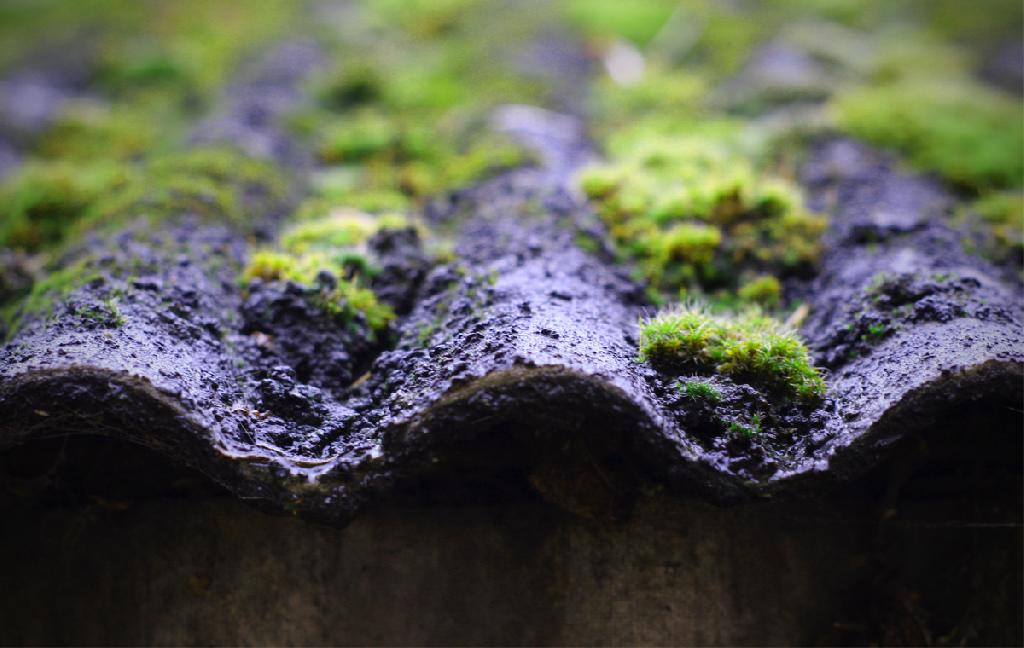
Australia seemed to have most of it’s asbestos in roofing and sheeting. Many homes were built using asbestos siding, including our first house in Townsville. Asbestos was also very common in insulated roofing and the building that I worked in while up in Townsville included this type of corrugated roofing material. Neither of these were a problem if left undisturbed, but if disturbed either through renovations, repairs or damage the asbestos could become airborne and potentially dangerous.

If you are at all worried that some of the material in your home may have asbestos in it then it is best to leave it undisturbed and to contact a specialist to get it tested. Given that asbestos related diseases are usually fatal it is better to get that piece of mind that risk exposure …

For more information about Asbestos check out the Asbestos Awareness web-site.

We Bought A House!

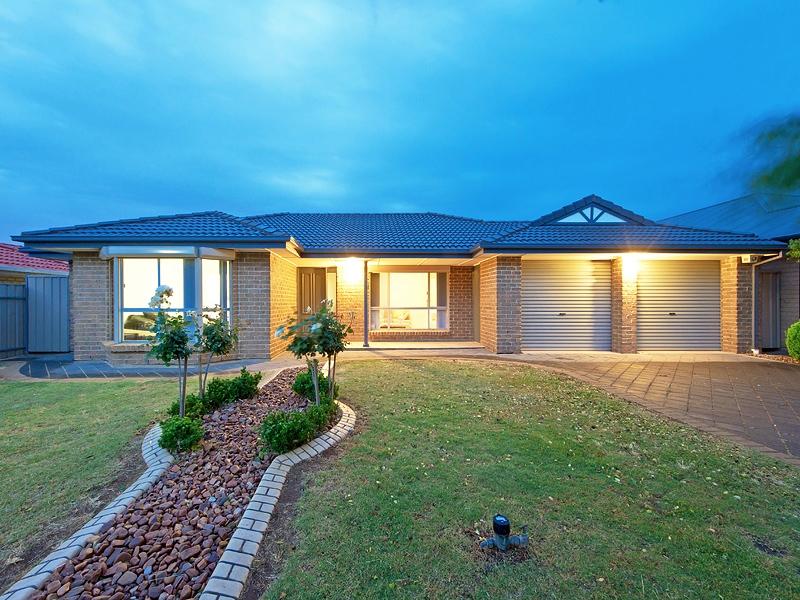
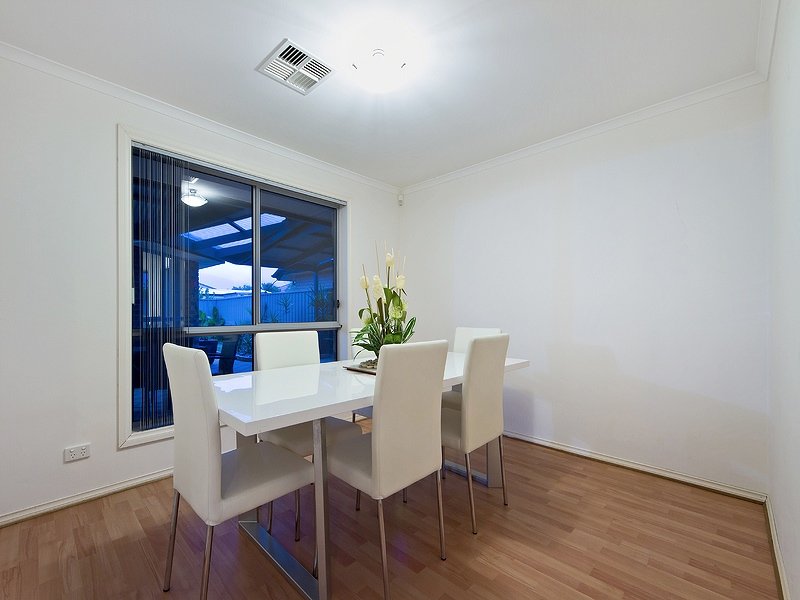
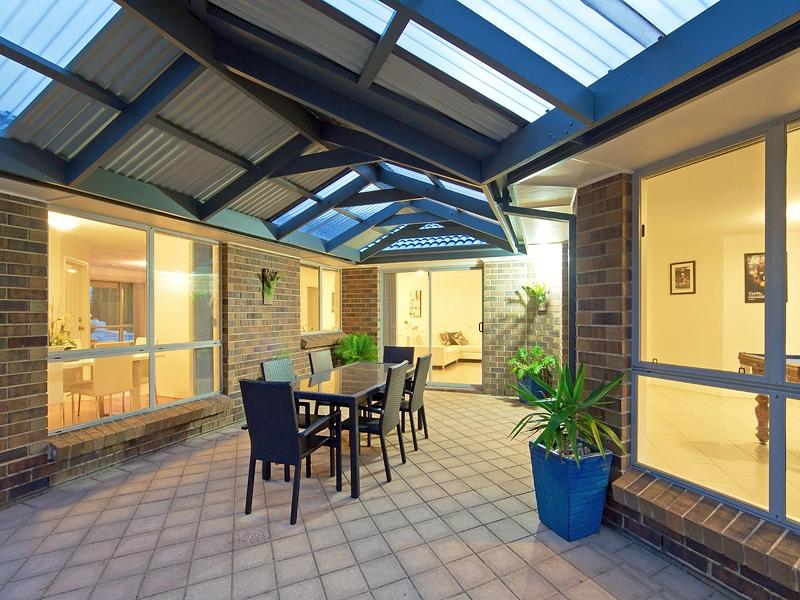
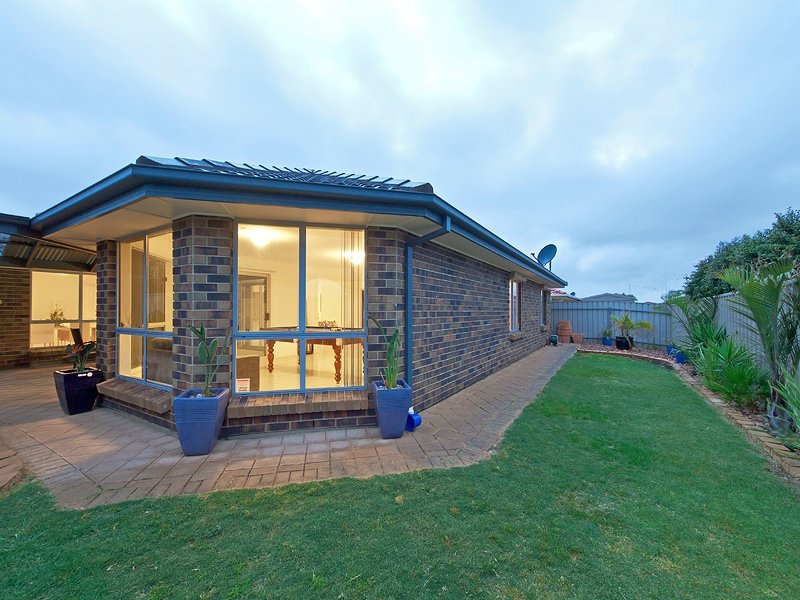
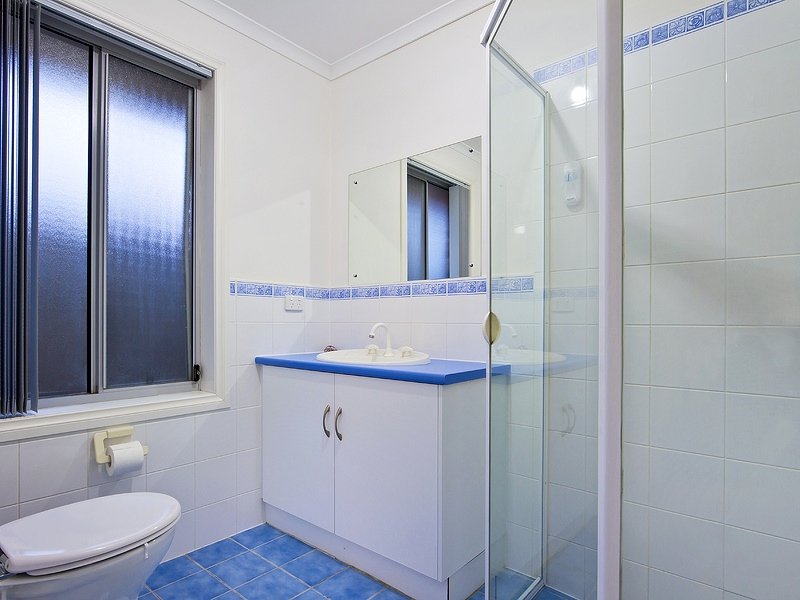
After being absent from the Australian Real Estate market for almost four years we are once again proud owners of a new house here in Adelaide!

Front of Our New House

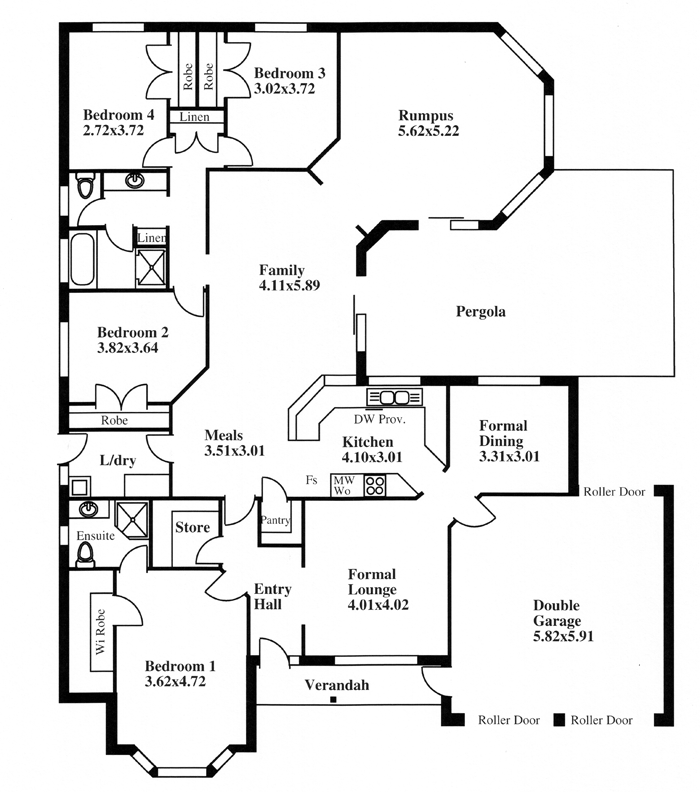
The house is a four bedroom, two bathroom house that was built in 2003, which definitely makes it the newest house we have ever owned.

We went to the first open house they had last weekend and put an offer in that night. There were a total of four offers on the house from that first open and even though we were not the highest offer, ours was still accepted! Praise God is all that we can say for that as we can not explain it any other way.

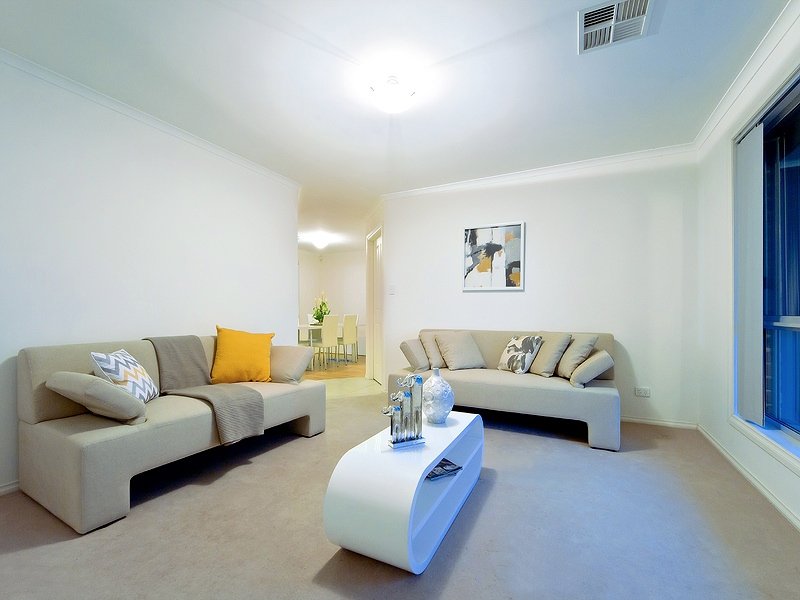
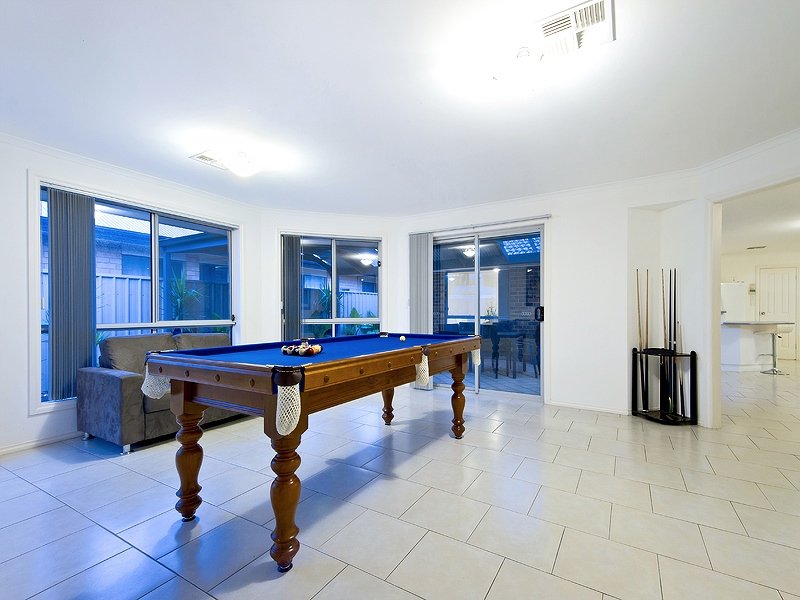
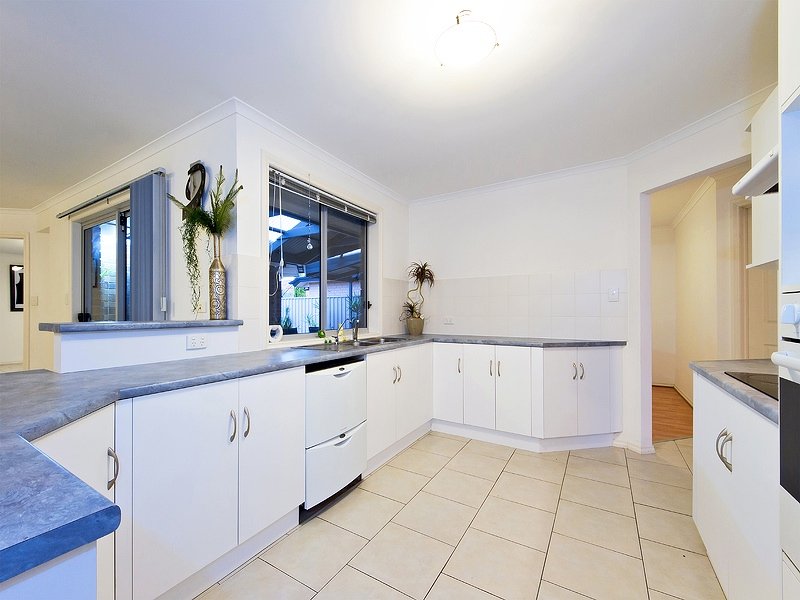
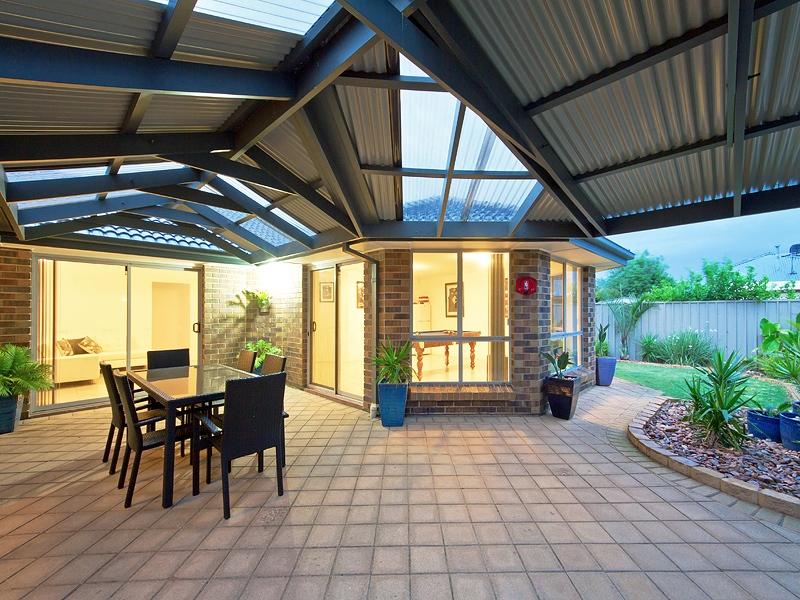
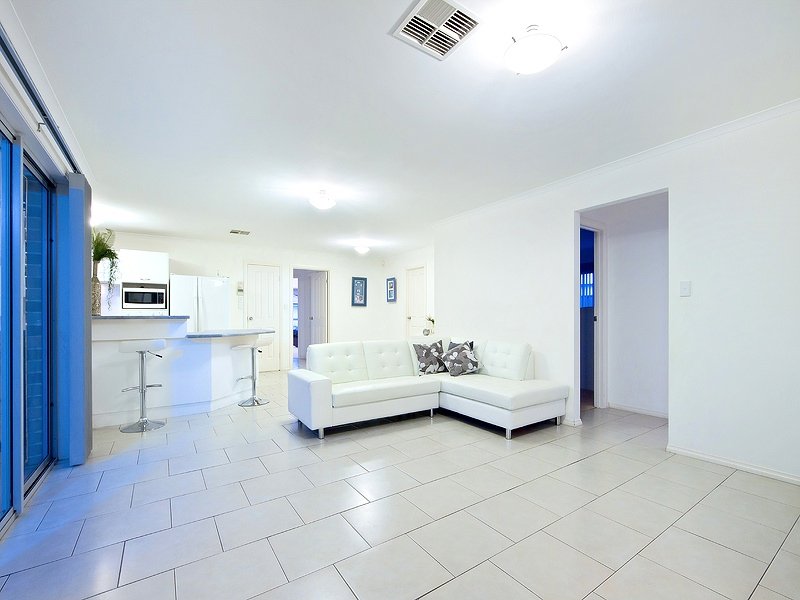
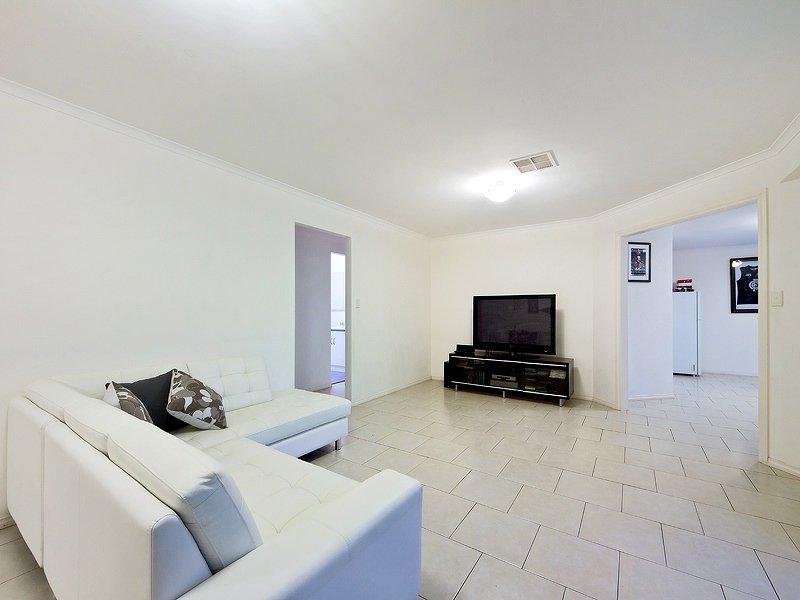
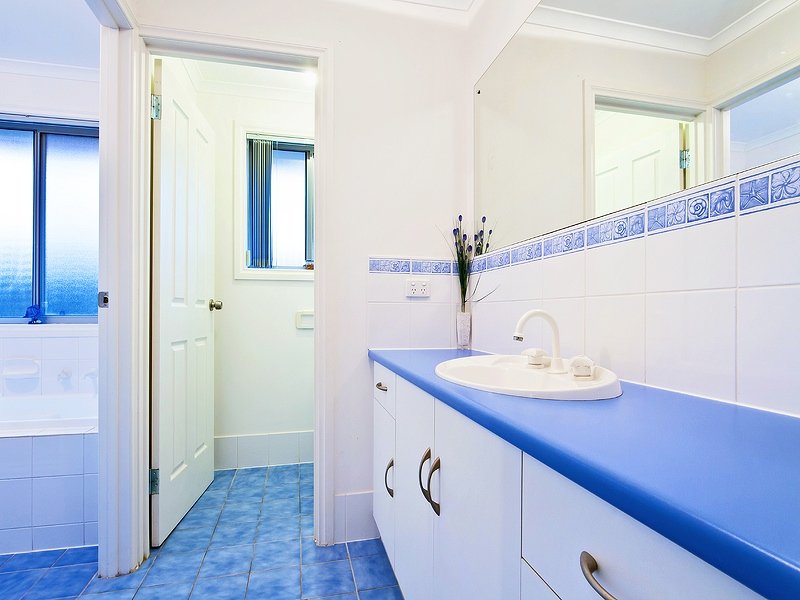
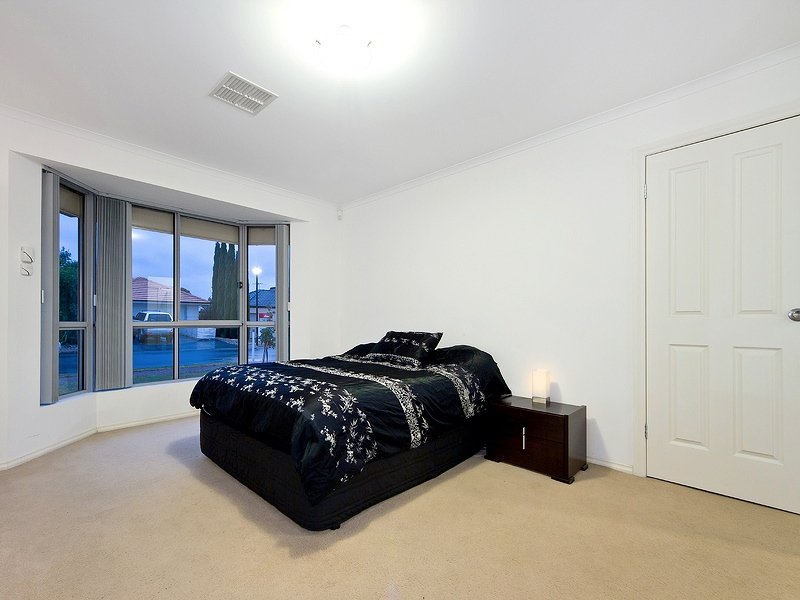
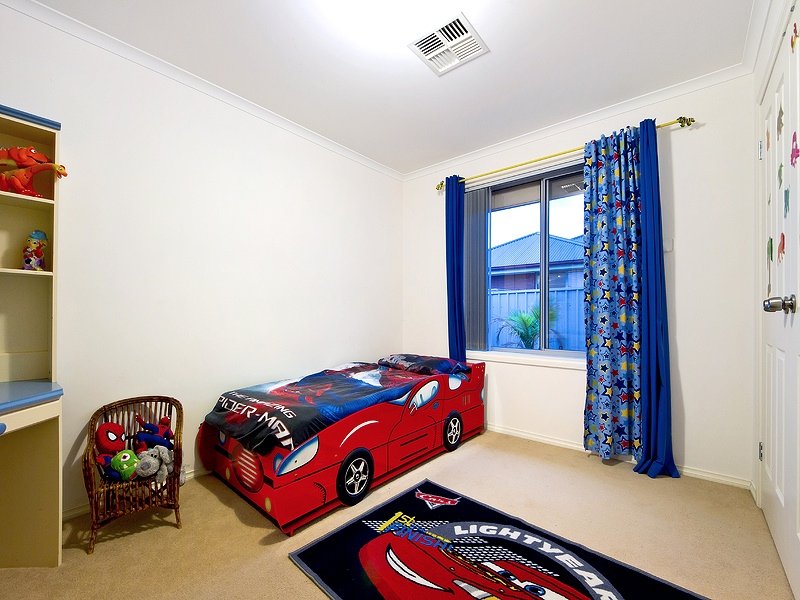
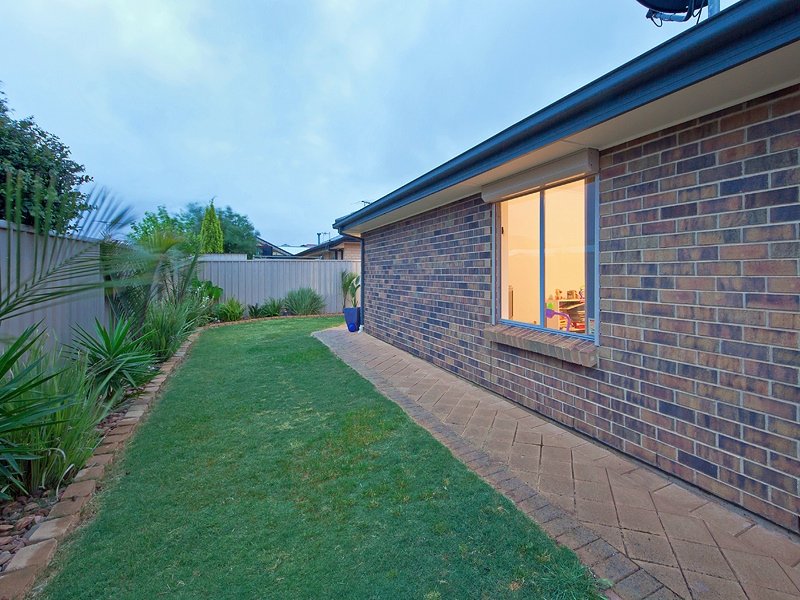
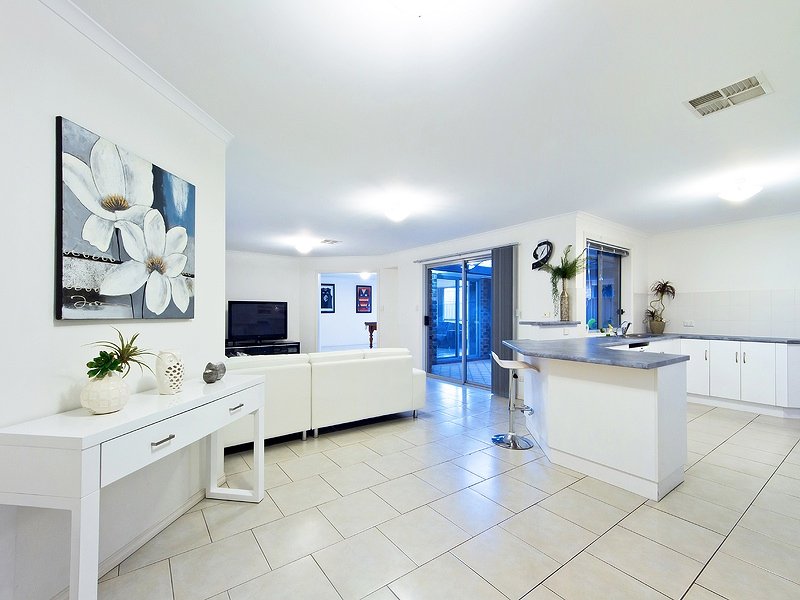
Below are some photos from the house that were taken for the open house…

DIY Lego Activity Table with Storage – Ikea Hack

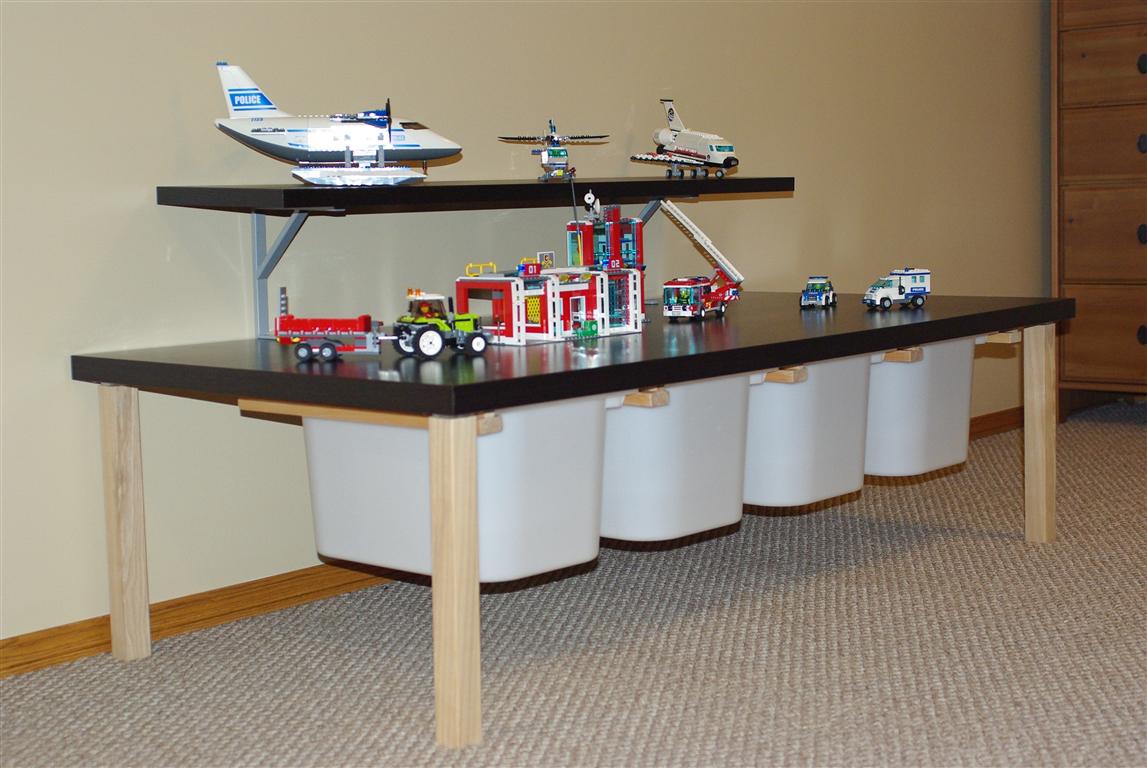
Lego Activity Table with Storage Ikea Hack

Although there are a few commercially available lego tables and activity tables most of them, unless ridiculously expensive, are quite small. Since my eldest son inherited all my Lego collection, plus had some of his own, we wanted a pretty big table, with a substantial amount of storage.

When we had to move out of our large office into a smaller one while we shuffled the kids rooms around before our third was born we no longer had room for both my wife and myself to have desks in the office. That left us with a 150cm x 75cm Ikea Vika Amon table top with no where to use it.

Thus was born my son’s Lego table!

The components used in building this Lego Activity Table were:

  • 1 x 150cm x 75cm Ikea Vika Amon table top
  • 4 x Ikea Trofast medium size storage boxes
  • 4 x Pre-cut coffee table legs and bases from Home Depot
  • 2.5m 1″ x 2″ fir timber
  • 3m 1″ x 1″ fir timber
  • Wood glue
  • 1 1/2″ standard nails
  • 2 3/4″ wood screws

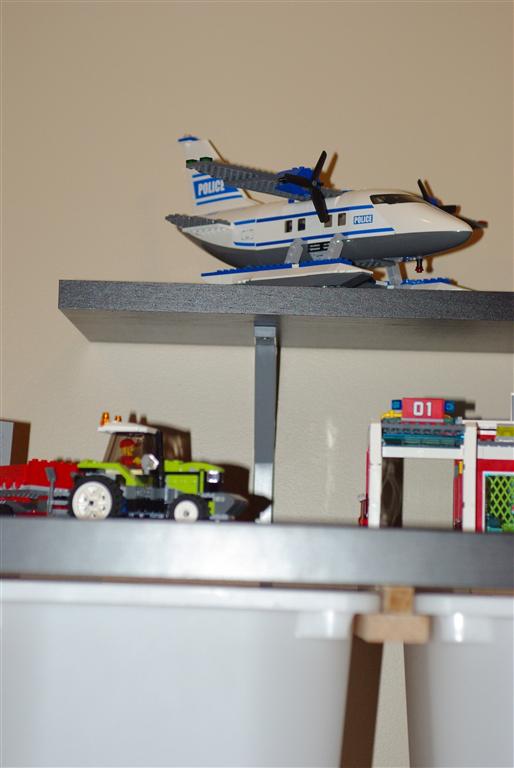
We also decided to put a display shelf on his activity table, so to do this we got the 119cm wide EKBY JÄRPEN EKBY TÖRE table top shelf. It included the shelf as well as the two desktop mounting brackets to attach them to the activity table top.

Once we chose all the components that we needed for the table the construction was fairly straight forward, with only a few noticeable errors on my part …

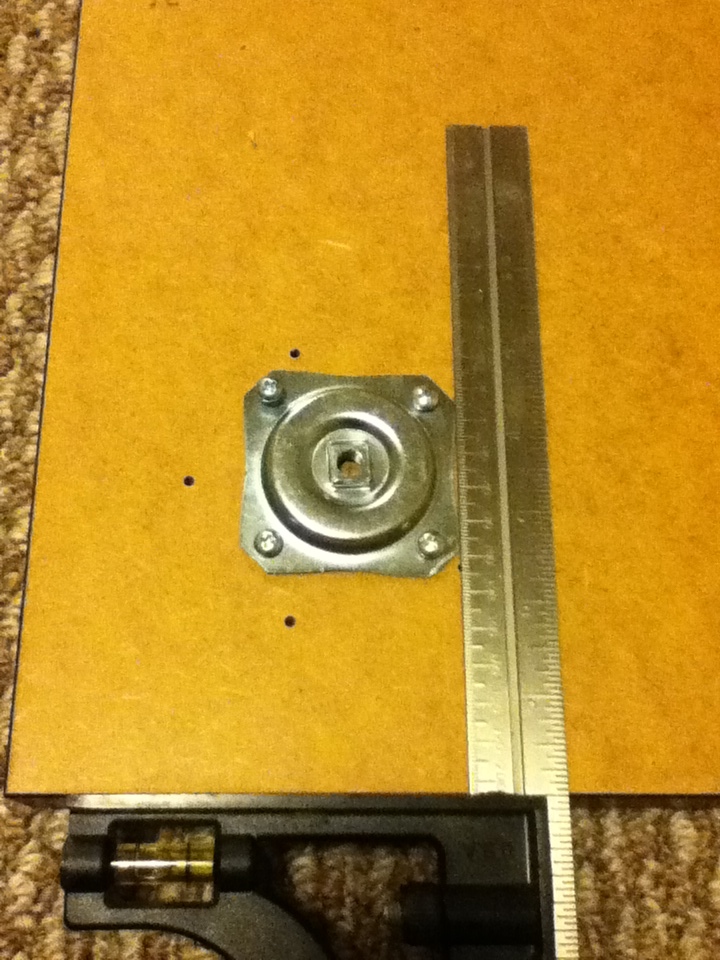
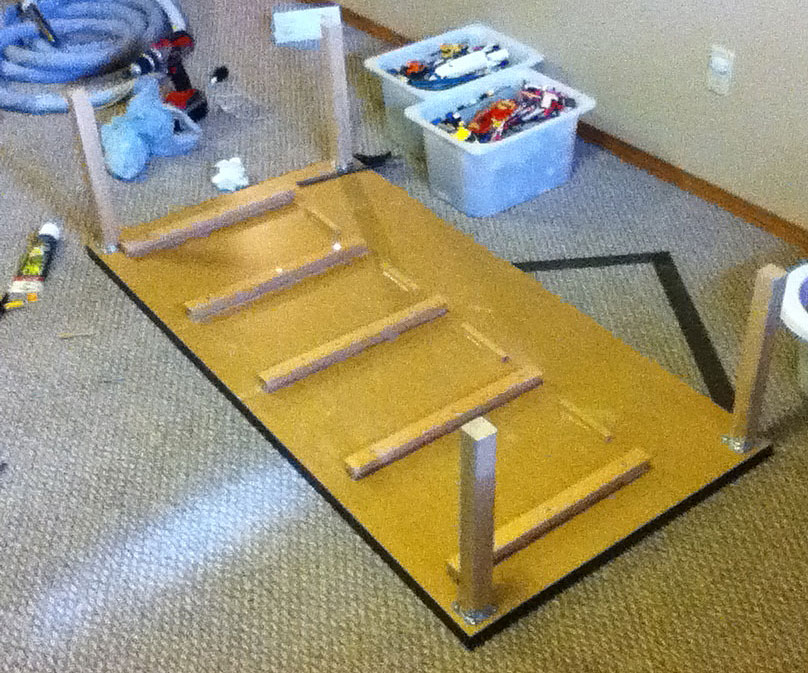
Table Leg Attachment BaseTo fit four Trofast storage boxes under the Lego activity table the table legs will need to be installed as close to the four corners as possible. This was my first mistake as I initially installed the table legs in the same location that the previous Ikea Vika legs were installed. Woops.

After my initial mistake with the table legs I attached the metal base 2cm inside the outer edge of the table. This gave me enough clearance to fit all four Trofast storage boxes between the legs…

Timber Trofast Runners

My next step was to build the timber runners for the storage boxes. I choose fir because it was a much harder wood than pine, and hopefully would take a bit more of a beating as well…

I cut five 40cm lengths of the 1×2 and 1×1 timber and then glued and nailed them together to for the runners.

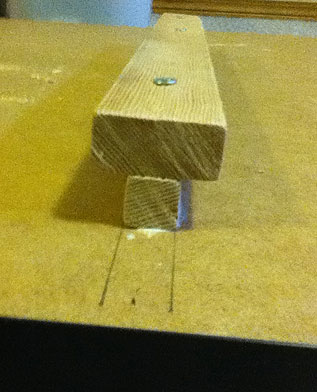
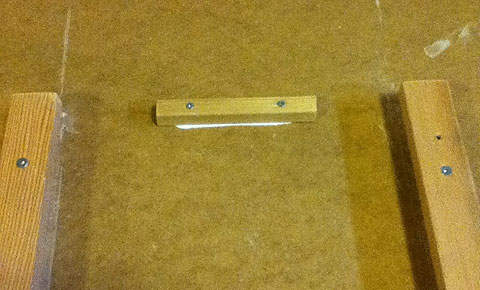
Timber runner installed in the centre of the tableWhile the glue was trying on the timber runners I found the exact middle on the table top and marked off the location for the centre runner. Once the runners were ready I then glued and screwed the first runner into place.

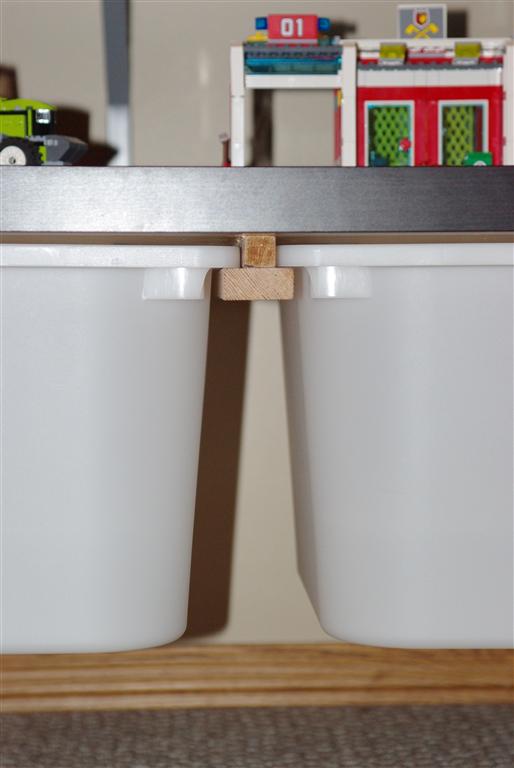
After attaching the first runner I then proceeded to install the other runners, carefully measuring the distance and making sure that the runners are perfectly square to one another. Close Up of DIY Trofast RunnersUnfortunately one of the runners I attached wasn’t exactly right and the storage box wouldn’t slide without getting stuck. Thankfully I found that out before the glue had dried and was able to remove it and try again, but it could have been a real mess had the glue dried.

After all the glue had dried and everything was lined up the four Trofast storage boxes slid in nicely, and then proceeded to fall right out the back of the storage table.

Rear stop for the Trofast storage runnersWoops again…

Thankfully I had some of the 1×1 timber left over so I cut four 10cm pieces and glued and screwed them at the back of the runners so that the boxes would stop sliding out the back.

At this point you could paint or stain the table legs to match the table top or other furniture in the room. We choose to leave it raw, mainly because we couldn’t agree on what colour or stain to use on it …

Bottom of the Lego Activity Table

Once that was finished and dried it was as simple as following the direction to install the EKBY JÄRPEN / EKBY TÖRE desk top shelf to finish it off and we were done. One DIY Lego Activity table with storage…

Lego Activity Table with Storage Ikea Hack