 Prices of electricity on South Australia are still on the rise…
Recently AGL, Origin Energy, and Energy Australia all greatly increased their prices by an average of about $200 per year. Unfortunately those big three retails account for nearly 80% of the market in South Australia.
South Australia is already paying an average of $400 per year more than customers in Canberra, with the big energy retails marking up costs by about $650 per year, per customer (source)…
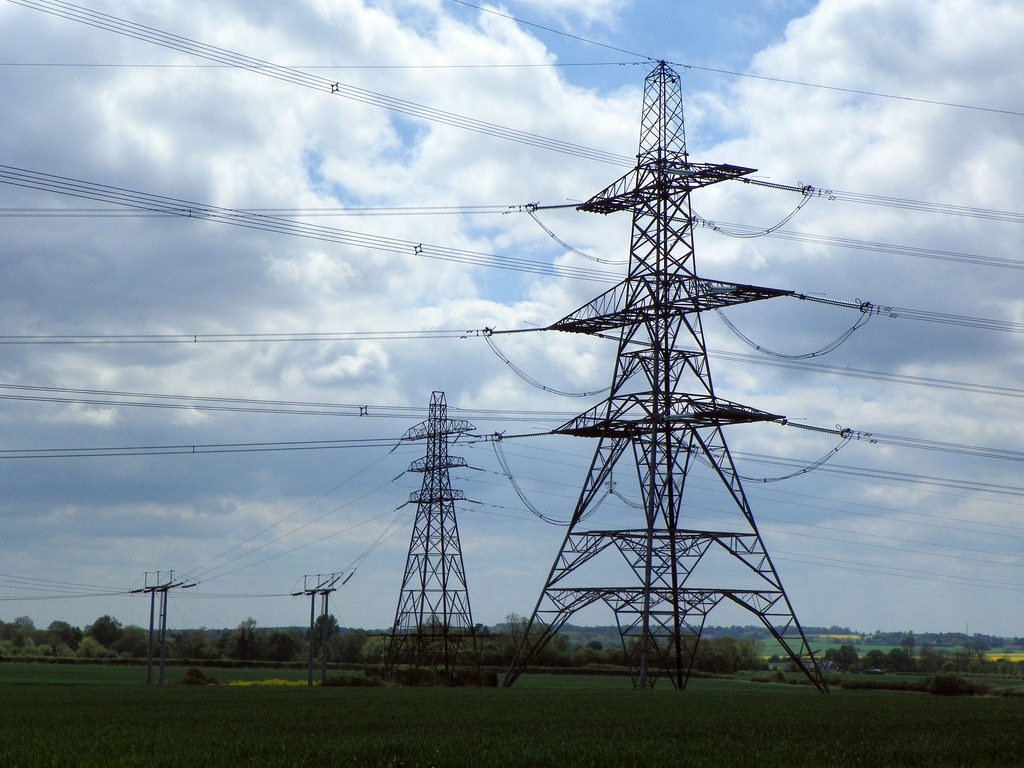
photo credit: GOC The Pelhams 056: Pylons via photopin (license)

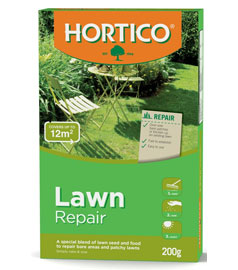 Choosing the right product to repair the dead or struggling patches of grass in you lawn is not as easy as buying the cheapest or prettiest product on the Bunnings shelf. I had to learn this the hard way, and spent many hours on my hands and knees trying to fix my repair