What To Do When You Discover Asbestos In Your Building

Dangerous asbestos roof - Medical studies have shown that the asbestos particles can cause cancer - toned image

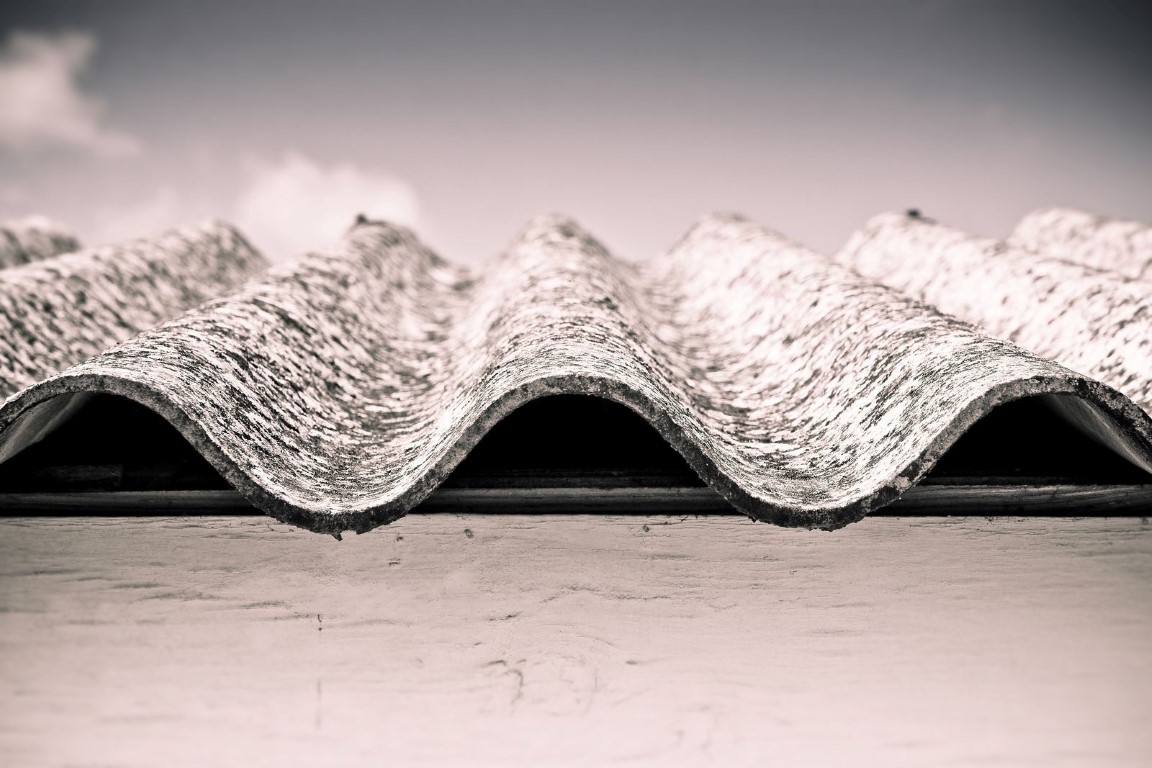
Before 1985, dangerous asbestos fibres were often used in a range of Australian construction materials. In those days, the naturally occurring mineral fibre – with its versatility, tensile strength, and insulating qualities – was thought to be God’s gift to the construction industry.

We now know that exposure to asbestos can be detrimental to your health. If you suspect that a building where you live, work or frequent contains asbestos, immediate action is required.

Step One: Evacuate

Exposure to asbestos poses significant potential health risks and can be life-threatening. If you are concerned that you have been exposed to asbestos, see your doctor. If you suspect that the material is present in your home or building, and you are not qualified to work with it, your immediate priority should be to secure the site and evacuate. You should then call in the professionals and have the site surveyed. They will test for Asbestos Containing Materials (ACM) and advise how to proceed.

Keep out sign Asbestor

Step Two: Identify & Assess

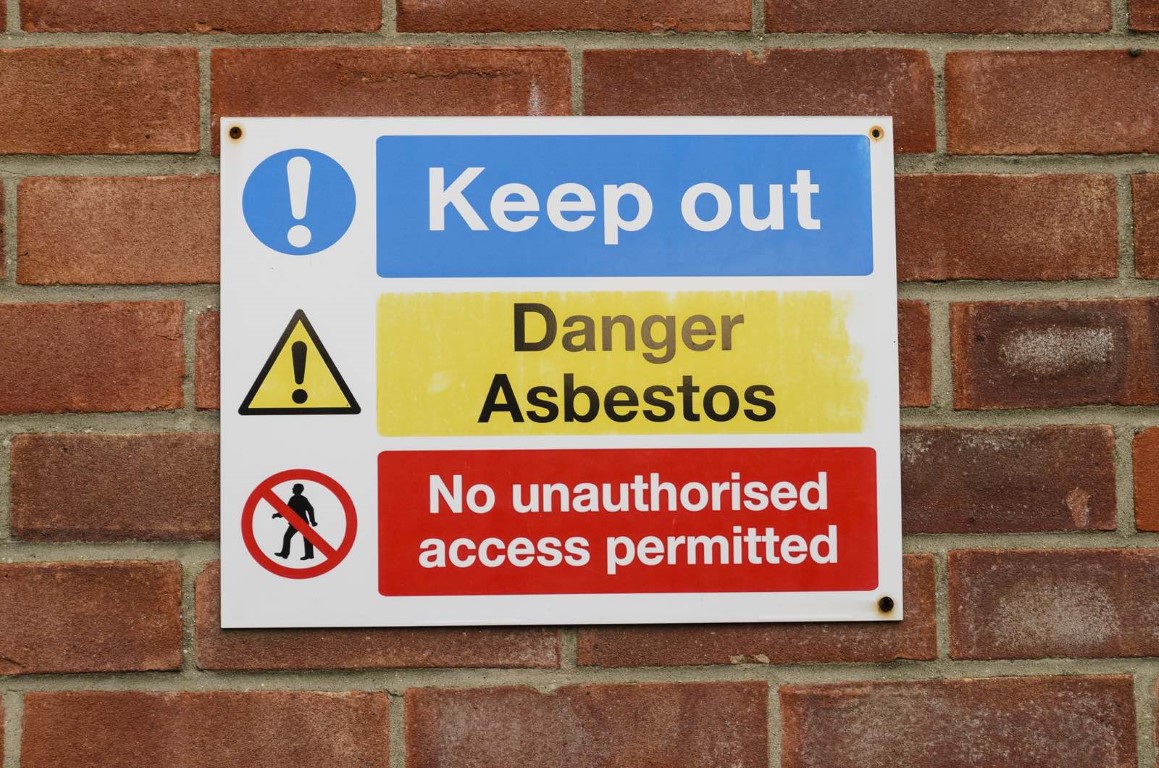
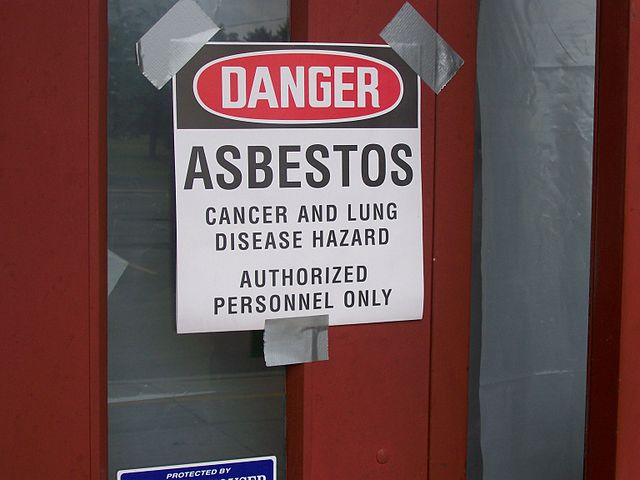
If you have reason to believe that ACMs are present in your building, contract an accredited Building Consultant to conduct an Asbestos Identification Inspection. In some cases, the presence of asbestos can be presumed prima facie but ordinarily, the inspector will take samples for analysis, to ascertain the presence of ACMs. Once the samples have been tested, an Asbestos Register (of both the analysed and ‘presumed’ ACMs) is compiled. This must be displayed prominently on the property to give clear warning to occupants, visitors and tradesmen where any asbestos is located.

Danger-warning-for-Asbestos

Step Three: Remove

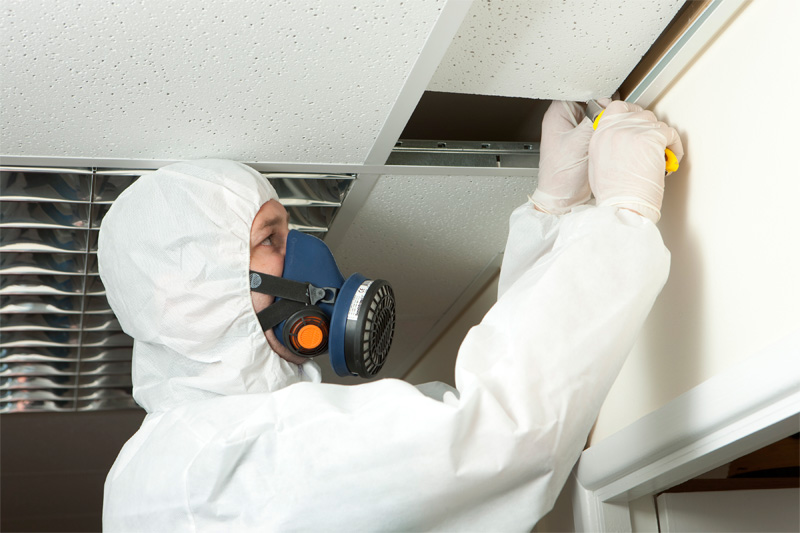
Removing asbestos is a dangerous task that should be carried out by licensed professionals. DIY asbestos removal is not recommended but, if you decide to tackle the asbestos yourself, first consult the official code of practice for asbestos removal, authorised by Work Safe Australia.

In older homes, three types of asbestos are commonly found: cladding, fencing and roofing. Many ACMs are bonded or encapsulated and, in this state, are not hazardous. But problems occur when the ACMs are demolished, drilled, cut, moved or otherwise disrupted, releasing the toxic asbestos fibres into the atmosphere. When removing asbestos, use tools and techniques that are least likely to disrupt the asbestos fibres.

Protective clothing is an imperative for asbestos removal. Porous materials, like shoelaces and fabric, should be avoided because they absorb the asbestos fibres and transport them beyond the worksite. Recommended safety gear includes:

  • Respirator
  • Asbestos-proof coveralls
  • Thick rubber gloves
  • Steel-capped gumboots

Bauer Elementary

Step Four: Disposal

Once the Asbestos has been removed from your home or building, you are left with the question of disposal. Where large quantities of asbestos must be disposed of, a skip bin may be your best option. Not all skip bin companies accept ACMs so discuss this upfront when enquiring.

If you prefer to dispose of the ACMs at a tip or waste disposal site, ensure that your chosen facility accepts asbestos. To find an asbestos disposal facility near you, search the National Waste Management Database.

Every site will have a list of strict rules around asbestos disposal. In most cases, the ACMs must be double-wrapped in black plastic, and packages must be thoroughly sealed with tape and labelled ‘ASBESTOS’.

Asbestos detection, removal and disposal are time-consuming and costly, but essential. This once-popular building material has left behind a deadly legacy that must be dealt with swiftly and cautiously, in all cases.

Have you had a brush with asbestos in your home or workplace? Share your insights and experiences in the comments section below.

Author Bio:

Jerry Tyrrell has over 40 years of experience in the building, architectural, timber pest inspections and asbestos testing & identification and founded Tyrrells Property Inspections more than 30 years ago. Since then Jerry has supervised the inspection of, or directly inspected, almost 80,000 buildings. He has hands-on experience in most building trades, and has designed, built, supervised and project managed building projects from $5,000 to $8m.

Roof Valley has Been Repaired

Roof Valley RepairAfter contacting nearly a dozen different roofing contractors here in Calgary we finally found one who was willing to repair the roof valley for us. We heard quite a few different things from the other companies we contacted including:

  • The valley doesn’t need repair, it has another 5-years or so left in it.
  • We can’t repair the valley, but we will gladly replace your whole roof for you.
  • I could throw some tar on it, but that would only last a year or two.
  • We can’t come out to do a quote for at least 6-weeks, would that work for you?

To complicate matters even further, the type of asphalt single used on our house, T-Lock shingles, was discontinued about 5-years ago, so there is no way to match the current tile with a new tile.

In the end the company that we got to repair the valley was Sunik Roofing. In repairing the roof valley they did the following:

  1. Remove T-Lock shingles in valley of the garage and walkway.
  2. Install ice and snow guard to valley, install metal valley flashing leaving a channel for water to flow down the centre.
  3. Install 2-ply roll roof to each side of the valley, then tie in T-Lock shingles with a starter and seal to roof with tar (poly bitumen).
  4. Clean and haul away all debris from repair.

They were at our house within a week of us booking Sunik in to do the repair and the repair was done in about 3-hours. From what I can tell as a layman they did a great job on repairing the roof valley and it should do well to last until the whole roof needs to eventually be re-shingled.

How To Repair a Roof Valley – DIY

We just had a building inspection come back on the roof of our house stating that one of the valleys in our asphalt single roof needs repair. It has never leaked, and I didn’t think it looked all that bad, but the building inspector seemed to deem that the roof valley needs to be repaired.

Roof Valley Repair Needed

There is a little deterioration on the last few tiles that according to the building inspector means that the entire 20-feet of roof valley needs to be repaired.

Bummer…

I have been looking at how to do a DIY roof repair on the valley and came across this video of someone else doing a roof valley replacement on a house that needed it’s roof valley repaired:

While researching this problem I also stopped by Home Depot to try to get some advice. Do you ever feel like you know more about construction and house repair than the people who work at the those big box stores? That is kind of how I felt today as a “kid” tried to tell me I just needed some 4″ by 4″ metal flashing to fit in under some cut tiles.

Mate, that really doesn’t cut it …

After looking at what is involved I am feeling that the roof valley repair that I need doing may be a bit over my head for a DIY job unfortunately.

I’m going to be contacting some roofing companies starting with Epic Roofing and Cargan Roofing here in Calgary based on some recommendations from some friends to see what the price will be for this “little” job, ha ha. Actually, I reckon there is probably no such thing as a “little” job when it comes to a roof…

Easy Way to Check Your Roof Insulation and Heat Loss

I was watching an episode of Holmes Inspection and Mike Holmes had a very easy and quick way to check on the insulation and heat loss in your roof in the winter.

Go outside the morning after a heavy snow fall. The snow fall has to be sufficient to leave snow on the roofs in your neighbourhood for this test to work. Have a look at the roofs in your area to see how much snow is on the roof.

If you see that you have had more snow melt off your roof than your neighbours then it is probably a safe bet that you have increased heat loss through your roof. This could be because of a lack of insulation, insufficient ventilation, or any other number of causes. Whatever the case, it is something that you should investigate if you want to increase the efficiency of your heating and decrease the amount of heat that you are loosing through your roof.

To view the snow depth on the above photo I had to turn up the contrast and turn down the brightness, thus making the image vary dark. Based on that photo from last winter I would say that I have minimal heat loss through the roof as I believe the only place that the snow is shallow on our roof was caused by the wind. Thankfully there appears to be no significant heat loss through the roof.

I’m going to have another look at this after our first significant snow fall this upcoming winter and will post the results and photos on this site. I will also put some photos of other houses where you can see the heat loss by the melted snow on their roofs so you can see what I’m talking about.