Preventing Gluten Cross Contamination on the Stove Top

Since my daughter was diagnosed with Ceoliac Disease we have been learning about cooking gluten free. You see, Ceoliac Disease is actually an autoimmune disease where the body starts to attack itself if she eats even a tiny crumb of gluten.

Gluten is found in many every day foods, and avoiding it not only involves not eating the foods, but also preventing the food, or crumbs / pieces / contamination from those foods, from coming in contact with any of my daughters food. This actually proves to be quite challenging at times.

We have learned over time what meals and ingredients work well for our family, how to prepare food in a way to avoid the foods touching, and how to serve in the correct manner / order to prevent utensils, bowls, crockery, etc from coming in contact with each other.

There is one area however that I continue to struggle to achieve 100% certainty of no cross contamination, and that is using our cook top …

Close pots and pans on a small stove top

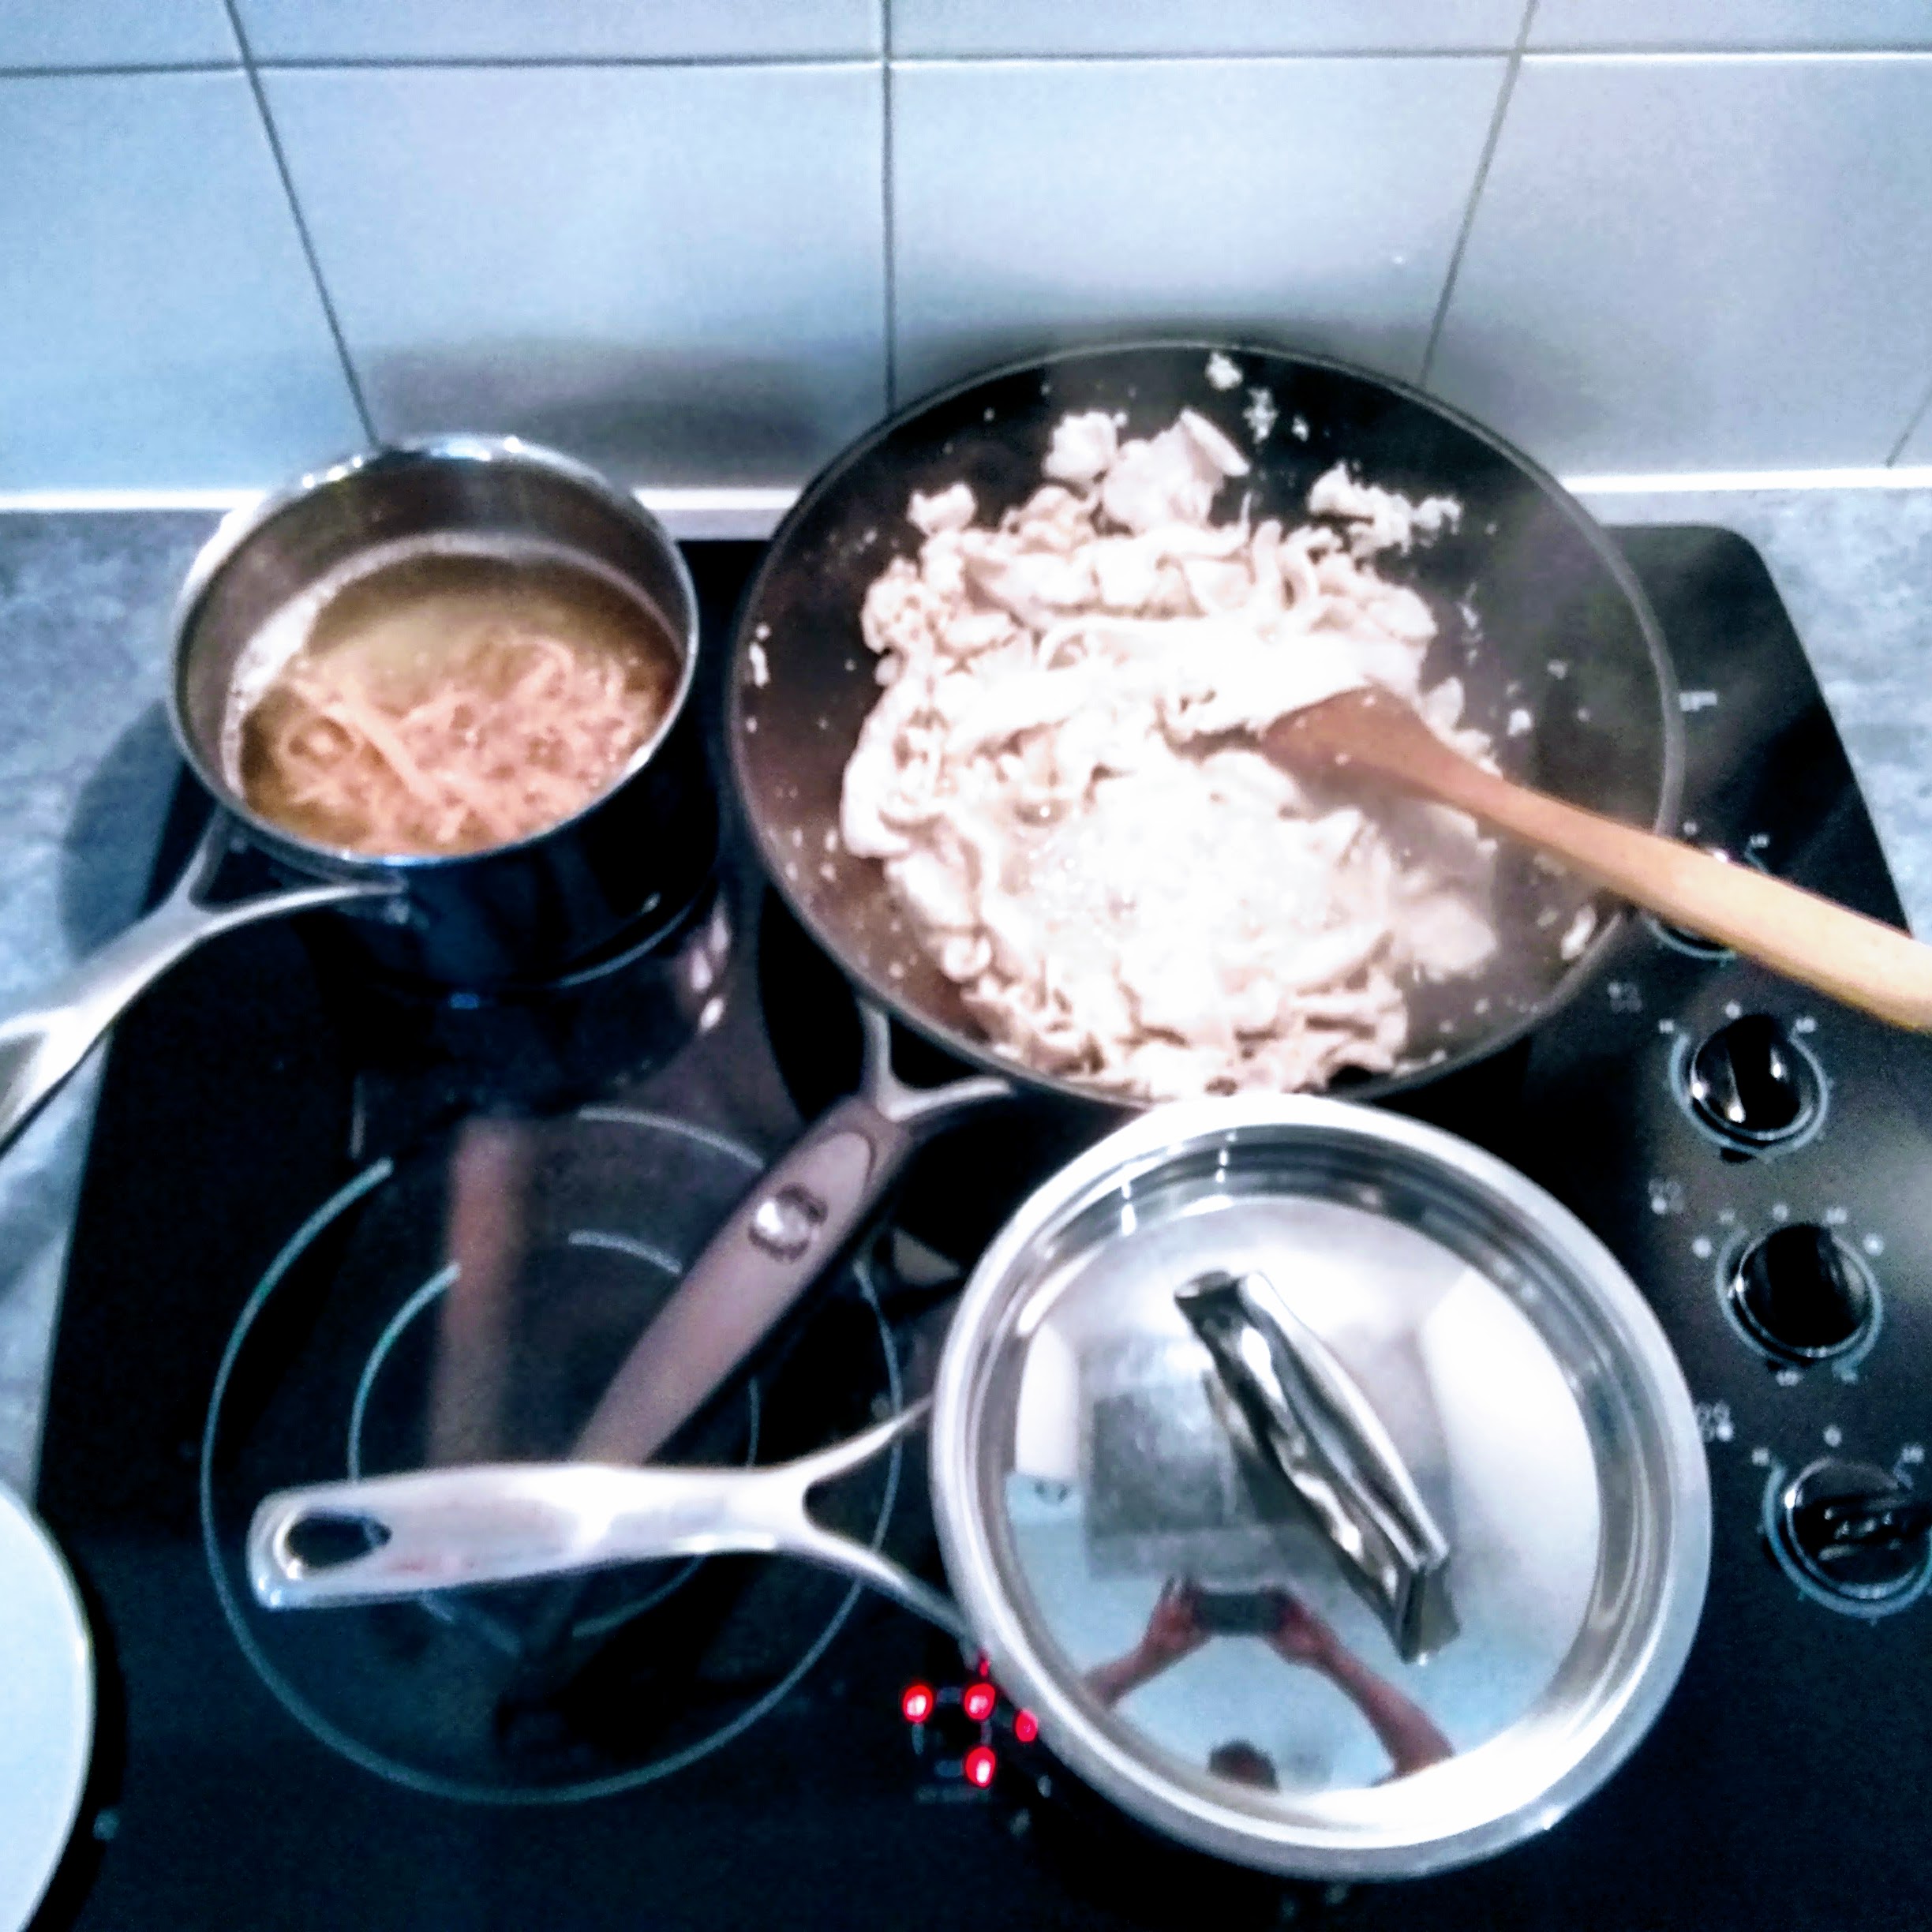
Our cook top you see is a standard 60cm wide, four burner budget stove top. Unfortunately the stove knobs take up about 12cm of the stove top, leaving less than 50 cm for me to cook on. If I am cooking a 100% gluten free meal that’s not a problem, but if I am also cooking any gluten containing food on the stove top, it’s hard, if not impossible, to prevent the pots and pans from touching. Whenever the pots and pans, or cooking utensils touch, it greatly increases the possibility for food cross-contamination to occur.

The obvious solution would be to just not cook gluten containing foods, but our eldest son has recently been diagnosed with Type 1 Diabetes, also an auto-immune disease, and the best way to manage it is with a special diet. His diet unfortunately does not always align well with our daughter’s gluten free diet.

Our next option would be to upgrade the stove top to a larger cook top. Unfortunately this is not possible as, although you can’t see it in the photo, there is not enough room to the left or right of the stove top unless we either remove overhead cupboards, or take away the wall oven.

ARGH!!!

Remodelling the entire kitchen to meet our kid’s medical needs seems rather excessive, but we are feeling rather frustrated at the moment…

Installing a Vented Range Hood on Internal Half Wall

After a few years of putting up with a smelly house every time I cook we finally decided to install an exhausted range hood. As I wrote in our last post, the challenge is that the range hood is installed on in internal half wall.

I managed to get some help last weekend to get the range hood installed and it turned out really well, with a few surprises and unexpected twists like always.

My original plan was to simply take the doors off the cupboards and then use a 7″ hole saw to drill through the sides of the cupboards. Some of the challenges that we had are that we could not get a 7″ hole saw as no where that I could find actually rented them and I didn’t want to spend $70+ to buy one. Trying to use a jigsaw and a smaller hole saw didn’t work out too well.

Removing the Kitchen Cabinets

After the failed attempt to cut the holes with the cupboards on the wall we decided the best thing to do was to remove the cupboards from the wall. This proved to be a bit harder than expected as instead of the expected silicone between the tiles and the bottom of the cupboard it was grouted, which caused a bit more time and effort to remove cleanly.

With the cupboards removed we were able to start the cuts in the sides and bottom of the cupboard with a smaller hole saw and then continue them with a jigsaw.

One thing that I was worried about when I started this project was putting a 7″ hole through the side of the house. I figured that with that size of a hole, and with my luck, I was sure to hit a stud in the wall. Fortunately though we were able to squeeze the pipe right beside a stud, without effecting the structure of the wall at all, which was great news.

Reinstalling the Cabinets and Running the Pipe

Once we got the hole cut in the exterior wall we re-installed the cupboards back into their original position. We then installed the new range hood and measured and cut the long length of pipe, installed the outside vent and then ran it through from the outside of the house. We used lots of silicone on the outside of the vent hood to create a tight seal and screwed the vent to the outside wall. The rest of the pipe and fittings all fit together nicely and we screwed and taped all the joins.

Insulating the Duct Work

Once that was done we spray foamed the exterior wall around the pipe and wrapped the pipe with duct insulation up to the 90 degree bend just above the range hood.

While insulating the duct work would have seemed quite absurd for our house in Australia, here in Canada it is quite a necessity. When the outside temperature drops to well below freezing you really need to everything possible to keep that cold air outside. The outside vent that we choose has a heavy baffle and there is a second baffle as part of the actual range hood.

At this point we flipped the switch on the breaker and tested out the new range hood, and boy does it suck! And by suck I mean pull a lot of air into the hood. The model of rangehood we got, NuTone Deluxe Allure® III, is rated at about 300 CFM on the “3” setting, and 430 CFM in boost mode, which is a lot…

At this point the range hood works, but it’s not too pretty yet, so the next step is to box in the duct work in the cabinets, which I will get to next time…

Exhausting a Range Hood Mounted on an Internal Half Wall

Our existing range hood is really quite useless. It is a recirculating range hood, with two-low power settings and a charcoal filter that doesn’t seem to actually filter anything, even when the filter is new. A minor complaint is that it is the old “almond” colour that our appliances used to be in the kitchen, before we started having to replace them.

It’s easy to understand why the builder put in a recirculating range hood. The oven is on an interior wall, which is actually only a half wall since our main living area has a cathedral ceiling. Venting the range hood out an exterior wall is going to be a challenge.

Despite the challenges we have decided to go ahead and vent a new kitchen range hood out the exterior wall. From our experience a recirculating range hood seems hardly worthwhile.

You can see some of the challenges that we need to overcome in the photo above:

  • Interior wall – no direct access to an outside wall
  • Half Wall / Cathedral Ceiling – no direct access to roof or attic
  • Cupboards only 2″ below top of wall – no room for overhead bulkheads

With all those challenges the only option is to go through the cupboards to the exterior wall. To do this we would loose the top 7″ or so of our cupboard storage space, which is pretty substantial. That said, I think that running the vent through the cupboards is probably the most viable option at this time…