Help! How Do I Childproof my Concrete Retaining Wall?

Welcome Elijah Bruce HutchisonWe had a rather eventful weekend, some joyous news and an unfortunate accident. I’ll be writing the exciting news soon, the photo on the left is a bit of a teaser…

The accident involved my son head butting the concrete retaining wall in our backyard. This is the second time he’s done it, but this time was far worse than the last and involved a trip in an ambulance to the Alberta Children’s Hospital.

The first time he did it he was playing tug-of-war with his sister and hit the back of his head, this time he fell off the play equipment and hit the front of his head on the concrete retaining wall.

We had thought of moving the play equipment, but given that the first accident had nothing to do with the swing set moving the structure would only be a partial fix. To be honest I’m still not sure how he fell all the way off the equipment to the concrete retaining wall since when we put in the equipment we put it what we thought would be a safe distance away.

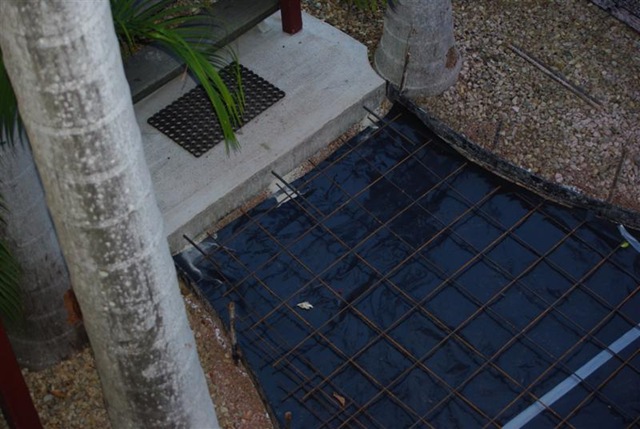
Removing the concrete retaining wall isn’t an option as our yard is over 1 metre higher than our neighbours backyard.

So I’m requesting some advice from anyone reading this post. How would you recommend we child proof our concrete retaining wall?

How to Install a Shade Cloth Sail Cover for a Patio

Coolaroo Shade Cloth Sail attached to our House and Timber PostsThe Shade Cloth cover we picked up for at Bunnings for only $40! It is a 4 metre x 4 metre Coolaroo Shade Cloth Sail that comes with a 15-year warranty and offers 90% UV protection. It was discounted because it’s a non-standard colour, even though it matches our paint colour scheme almost perfectly.

First I sunk 150mm diameter posts 60cm into the ground and then filled it with cement for the outer posts. At the base of the posts I made sure that the concrete sloped down, so the water would run away and not pool against the posts. I then put I-bolts through the posts for my anchor points.

Coolaroo Shade Cloth Sail over our Outdoor Entertainment AreaAgainst the side of the house I found where the timber studs were and simply screwed the stainless steel eye plates through the siding and into the studs.

The shade cloth sail has stainless steal rings at the four corners, so once my anchor points were down I used turnbuckles to attache the shade cloth sail to the anchor points.

Shade Cloth Sail Anchor Points Turnbuckle and ibolt After attaching the shade cloth sail to the four anchor points I used the turnbuckles to tension everything so that it ended up with a nice even tension over the surface of the shade cloth sail.

All up the cover only cost about $240 including the posts, concrete, shade cloth and all the brackets.

Note: One of my posts ended up farther away than I had planned, so I used some chain link to extend the turnbuckle to the anchor point on the post.

Our Finished Outdoor Entertainment Area

We finally finished off our back patio a few weekends ago. Since we sold the deck that we were originally going to put on the back of the house we ahead with covered patio, coming out of the back door.

Back of the House with the new Shaded Outdoor Entertainment Area

The Shade Cloth Cover of the patio works great for keeping the sun off the table and chairs for most of the day.

We ended up putting down a stone patio, rather than laying laying down patio pavers. This was a much more economical solution, and a lot easier to do as well as we got the whole patio laid in a single day.

Now that I have a nice area to sit down and cook in I am definitely out there using the barbeque more. It’s a nice place to kick back with a drink and book too when I get the chance.

Finishing Installing a New Driveway

After cutting out the driveway and laying down the roadbase the guys came back to pour the concrete.

Steel Mesh Laid over Plastic Membrane Before they could pour the concrete they put down a black plastic membrane. From what I understand the plastic membrane is meant to provide a moisture barrier between the ground and the concrete. They did the same thing before they poured the slab for under our house.

To help attach the new driveway to the existing slab under the house and at the bottom of the stairs they drilled holes into them and rammed steel rebar into them. The embedded steel rebar helped to create anchor points for the new driveway.

Pouring the Concrete for the Driveway To lay the steel over the plastic membrane they put down dozens of small plastic cones. The plastic cones elevated the steel mesh about 75mm above the plastic. The steel mesh clicked into the plastic cones.

Once the steel was in place they poured the concrete into the formwork they had put around the outside of the new driveway. They used  wheelbarrows to cart the concrete down the side of the house. Trowels were used to then flatten out the concrete, give it the right shape and depth, and make sure that the fall on the garage is away from the house.

Revealing the Aggregate Pebbled Driveway After a few hours of drying time the crew came back to spray off the top layer of concrete . This revealed the pebbles on top to give the driveway  the pebblecreate / aggregated look.

A few days after they were finished I spent the morning painting and sealing the new driveway. The clear sealant that I used on the driveway should make it easier to wash off any drips from the car, and it gives the driveway a permanent "wet" look, which is very effective.