How to Get Quotes to Install Solar in Australia

Renovate Australia Podcast Episode 6

After weighing up for a long time whether to install residential solar power on our house here in South Australia we decided to go ahead and get some quotes on the costs associated with it. To start the process I visited a web-site called SolarQuotes.com.au that my brother in law recommended.

SolarQuotes.com.au

The guy who runs it is Finn Peacock and he seems to be a very up and up kind of guy, who even called my brother in law back on the phone to answer some of his questions!

His web-site will connect you with three different solar providers for quotes. After filling out the simple form I had two of the three companies contact me pretty quickly with quotes over the phone.

In addition to the three companies that I was connected to via the SolarQuotes site, I also contacted two companies that I had recently received flyers for. They were very low prices, for what looked like decent systems, so I thought I would give them a try.

badgePlatinumRecSmallSolarQuotes.com.au also has a Solar Installer Leaderboard on their site. I had a look at that page and contacted three other companies that had done a lot of work in South Australia, were either Platinum or Gold rated on SolarQuotes, and also had very few, or no negative comments on forums.

Following the advice on SolarQuotes.com.au I did the following while researching the companies:

  1. Checked out the reviews on SolarQuotes
  2. Searched for forum posts about the companies on Whirlpool
  3. Asked a lot of questions of the people giving the quotes (13 suggested questions from SolarQuotes)

In addition to those questions I also checked out reviews and forum posts on the inverters and panels I was quoted on.

History of our House in Townsville, Australia

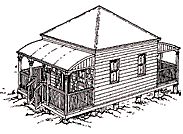
1870 - 1930 Colonial Federation and Interwar Pyramid HouseThe house was first built as a miner’s cottage around 1870 in Charters Towers during the gold rush. It was a simple 4-room colonial style miner’s pyramid roof style house.

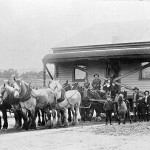
House Being Moved by HorsesAround the early 20th century (1915 – 1930) the house was moved, most likely by a team of horses, from Charters Towers to Townsville when the gold mines shut down.

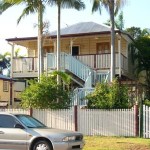
1870s Miners Cottage in TownsvilleWe purchased the house in 2005 in Townsville, performed some major renovation and upgrades to the house, and then sold it in 2009 prior to moving to Canada.

My son Caleb is currently learning about the Gold Rushes that have happened in Australian history. It is quite fascinating how much Australia has been influenced through it’s various gold rushes. During one decade after the first gold rush the Australian population doubled as fortune seekers came to Australia to try to get rich!

I thought that the history of our home, and many others like it during that era of Australian history, also made an interesting footnote for my son to learn about …

Sources:

DIY Keyboard Tray for Ikea Besta Desk

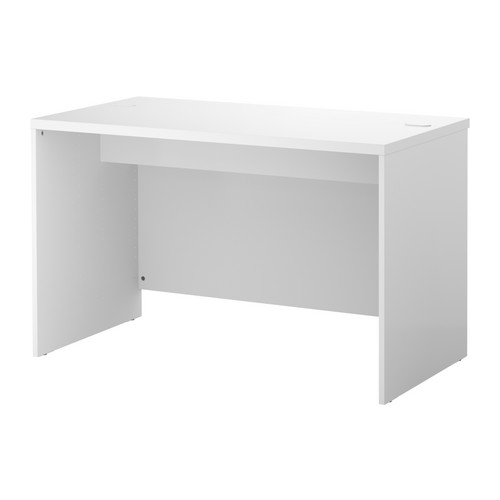
Recently we purchased a white Ikea Besta Desk with the integrated cable tray under the back of the desk. The tray is great for organising cables and power boards.

Ikea Besta Desk White

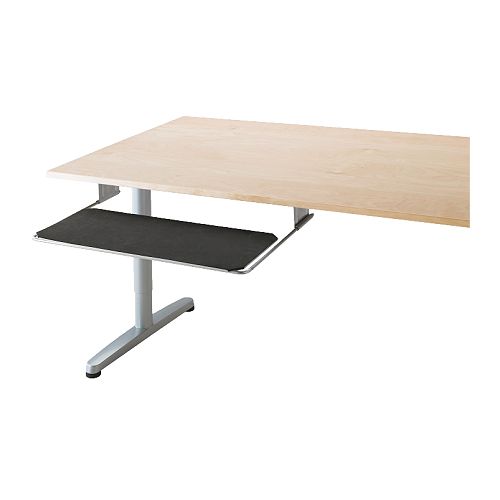
I like the way that they cables and everything is hidden under the desk, but I ran into a lot of problems finding a keyboard tray for the desk because of the cable management outlet on the back. The first tray that I tried was the Ikea Summera Pull-out keyboard shelf. It was a good first choice since it’s only $15.00 in Australia, and it’s from the same store I bought the desk from…

Ikea Summera Pull-out keyboard shelf

The problem I had with the Summera keyboard shelf was the long steel rods coming out the back of the back of the keyboard tray. The only way I could have made it work is to have drilled holes through the front wall of the cable tray.

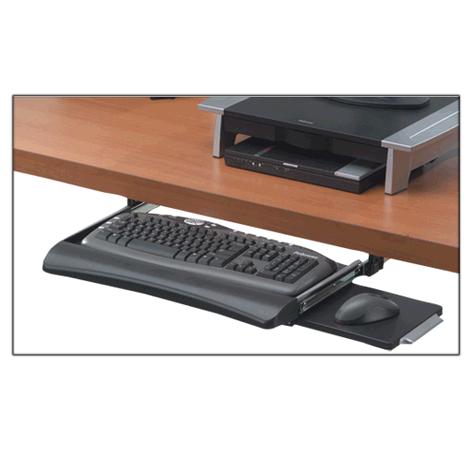
After failing with the Ikea Summera keyboard I tried a Fellowes Underdesk Keyboard Drawer from Officeworks. This keyboard tray was significantly more expensive than the Ikea tray at $70, but I thought I would give it a try…

Fellowes Underdesk Keyboard Drawer

Unfortunately the arms on the sides of this one was also much too long. If I were to install this keyboard tray it would have extended out past the front of the desk about 10cm, or 4″. It was pretty ugly, and didn’t fit my Logitech Wireless Mk550 Keyboard, which extended out past the back of the tray.

With only 34.8 cm between the front of the desk and the cable management tray I was pretty much stuck without option at this point for buying a tray. Since the desk is only 120cm wide I did really want a tray for my keyboard and mouse to free up some space on the desk. This pretty much left my only option as being a DIY solution …

Building a DIY Keyboard Tray

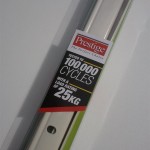
Prestige 300mm25kg Drawer SlideI headed over to Bunnings to pick up the hardware that I needed to build a keyboard tray. In the end all I had to pick up for two items:

  • White Melamine Shelf - 1200x300c16mm
  • Prestige 300mm/25kg Drawer Slide

The shelf cost about $12.50 and the drawer slide $7.00. So for less than $20 I was able to build myself a full width keyboard tray.

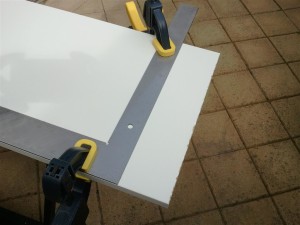
I cut the melamine shelf down to 1138mm (should have probably done it to 1135 as it was a bit tight, but still worked). After cutting it down I attached the tray part of the slides to the edges of the shelf.

Cut the Melamine Shelf to 1135mm

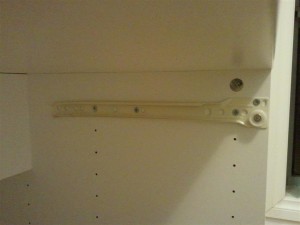
I then attached the drawer slides to the top holes in the side of the desk. Two of the holes lined up perfectly for the drawer slide, but I added two other screws (which were included with the drawer slides) to make sure it was secure. You could probably adjust this down one more hole if you wanted more clearance for your keyboard and mouse.

Attach Drawer Slide to Top Holes

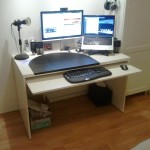
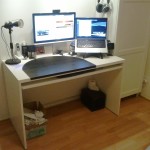
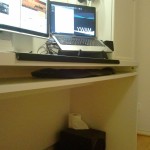
In the end I finished up with a keyboard tray almost the full width of the desk, with plenty of room for notepaper, the keyboard, and the mouse, all for under $20.00! A much better deal than the Fellows Keyboard Tray, and much more functional than the Ikea Summa keyboard shelf…