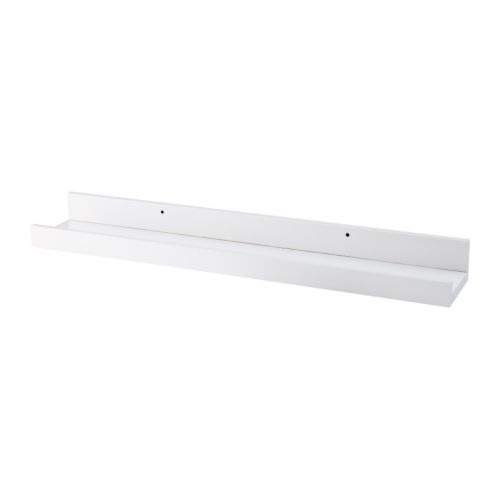
Ikea used to carry these great wall mounted picture shelves that you can attach straight on the wall. Your photo frames would sit in the shelf and lean back against the wall.
 Unfortunately Ikea has discontinued the white photo shelf, so when I sent to pick one up for our daughter’s bedroom the only one left was 1.8 metres long. I purchased it, but when I got home I realized that cutting it down to the length that we wanted wasn’t a good option because of the foil and MDF construction.
With that option out of the picture we were left with the option to build our only picture shelf.
Design
The hardest part was settling on a design or style for the shelf. After looking around the web we decided to try to copy or duplicate that Ikea design.
We decided on building the shelf 30â€, or 76cm, long to sit above the end of our daughter’s bed. The shelf will actually be used for her books, rather than for photos.
Materials
The only materials that we needed for the wall mounted photo shelf were:
- 1†x 4†x 8’ pine timber ($7.00)
- 1†x 2†x 6’ pine timber ($3.50)
- 1 1/2†wood screws for assembly
- 2 1/2†wood screws for mounting
- caulking (optional)
- wood fill putty
- primer and paint
The screws, paint, putty and caulking I had left over from our other projects, so all I had to buy was the timber for about $10.50.
Assembly
I cut the 1†x 4†into 2 x 30†long pieces and the 1†x 2†into a single 30†piece. You can change the length of the pieces depending on how long you want your shelf to be.
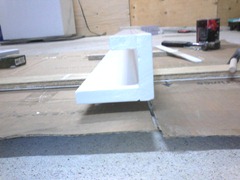
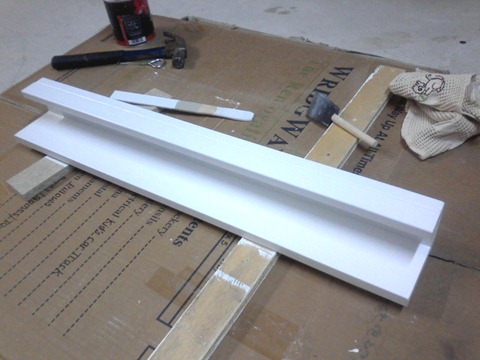
 After cutting the timber put it together like the photo on the right. When you screw the boards together make sure to drill the pilot holes first to prevent the boards from cracking. Countersink the screws slightly so that you can putty over the holes when you get to painting the photo shelf.
Painting
To get a smooth finish on the front of the shelf you can fill the front crack now with your caulking after giving the shelf a quick sanding. Then use the wood putty to cover up the screw heads that are under the shelf.
Once the putty is dry, sand it flat and five the whole shelf an undercoat with a good wood primer. After the undercoat is dry proceed to give the shelf two or three coats of paint. If you are using this shelf as a book shelf I would recommend using a hard wearing paint to help prevent scuffing and scratches.
Mounting
We have not yet mounted the new book shelf but when we do we will be attaching the shelf to the wall studs to make it extra sturdy. To do that we’ll find the studs with a stud finder, centre the shelf against our daughter’s bed and drill the pilot holes for the screws to mount the shelf. We’ll then use the 2.5†wood screws to screw through the self and into the studs.
To finish off the shelf we are looking at either getting white plugs to cover up the ends of the screws, or possibly painting over the screw heads. We aren’t sure yet which option we will be going with, but when we post the final photos of the shelf we’ll let you know.
Update – Here are the finished photos of the finished wall mounted picture and book shelf.
Links:
- Knock-Off Wood – Flat Book Holders (The inspiration for this project)
- Ikea Shelf (discontinued in Canada)

Pingback: The Finished Wall Mounted Photo Shelf | Renovate Australia
Thank you for posting this. I’m going to try and build one for my daughters room!
THANK YOU!! I’ve been searching for something my husband could build for our little girl. You guys rock!
I’m glad that you guys like it, it’s worked really well for us and our daughter uses it for all sorts of things now, including a stage for her stuffed animals and of course books.
fantastic!
just what i’m looking for.
thank you so much for sharing this. 🙂
cheers.