I have finally finished painting the bedrooms. I am very frustrated at myself for taking as long as I have, but at least I am finally done painting the bedrooms.
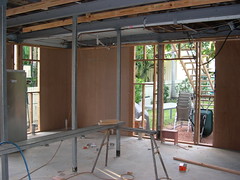
Originally we were going to paint everything in the colour “white shadow”, which you can see on the walls above. That would have included the door frames and the window frames, basically all the trim painted in the same colour as the walls.
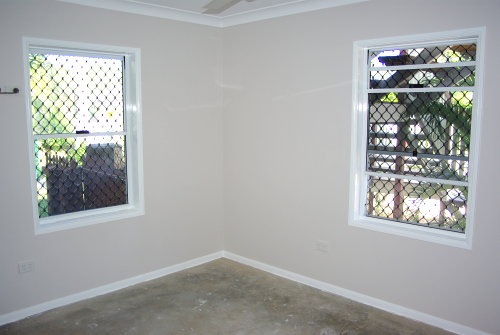
After we put the colour on the walls, with the white base coat on the trim, we decided to paint an acrylic gloss white for all the trim and the doors, with white shadow on the walls. We are quite happy with the results in the bedrooms.
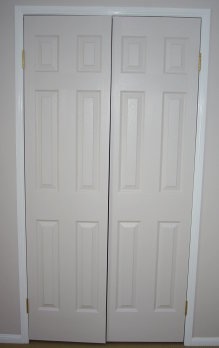 We did all the main bedroom doors in the same gloss white as the frames above. With the closet doors to the two built in robes we painted the trim the gloss white, but then painted the doors a semi-gloss white shadow (as on the left). I reckon that it looks pretty good as well, and should look great over the carpet once that is installed and the hardware is then put on the doors.
I’m still working on painting the hallway. We are going with the same style as the bedrooms, with the white trim and “white shadow” walls. Unfortunately I had some trouble with my final coat of paint on the cornices on the ceiling. The paint must of been off because my “flat” white ceiling paint when on glossy in places. I tried to cover it with some new flat white ceiling paint, but the gloss continued to shine through.
I have now had to reseal the cornice and have just tonight finished my second coat of Taubmans One Coat Ceiling paint. I am not sure if it has worked yet though, as the tint of white seems darker than the rest of the ceiling paint. I really hope that it’s because it’s wet, otherwise I have no idea what I am going to do about it. There is already 8 – coats on paint on the cornice now …
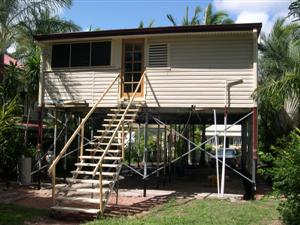 We noticed this sway quite a bit right after getting our house lifted. If our son ran around the house, or if I took a wide stance and rocked back and forth, we could get it going so the rocking was noticeable in a glass of water. The sway was the worst when we first moved in after the house was lifted, but slowly we got used to it. My wife, who was pregnant at the time, wasn’t too affected by it, which says a lot.